How to Make Easy Individual Charcuterie Cups
I love a traditional charcuterie board as much as the next hostess-with-the-mostest, but I also love to change things up on occasion by serving my guests individual charcuterie cups. These colorful, hand-held charcuterie boards served in little cups are a creative and fun way to let guests mingle while they nibble at your next party or holiday gathering.
Top Tops for Making Craveworthy Charcuterie Cups
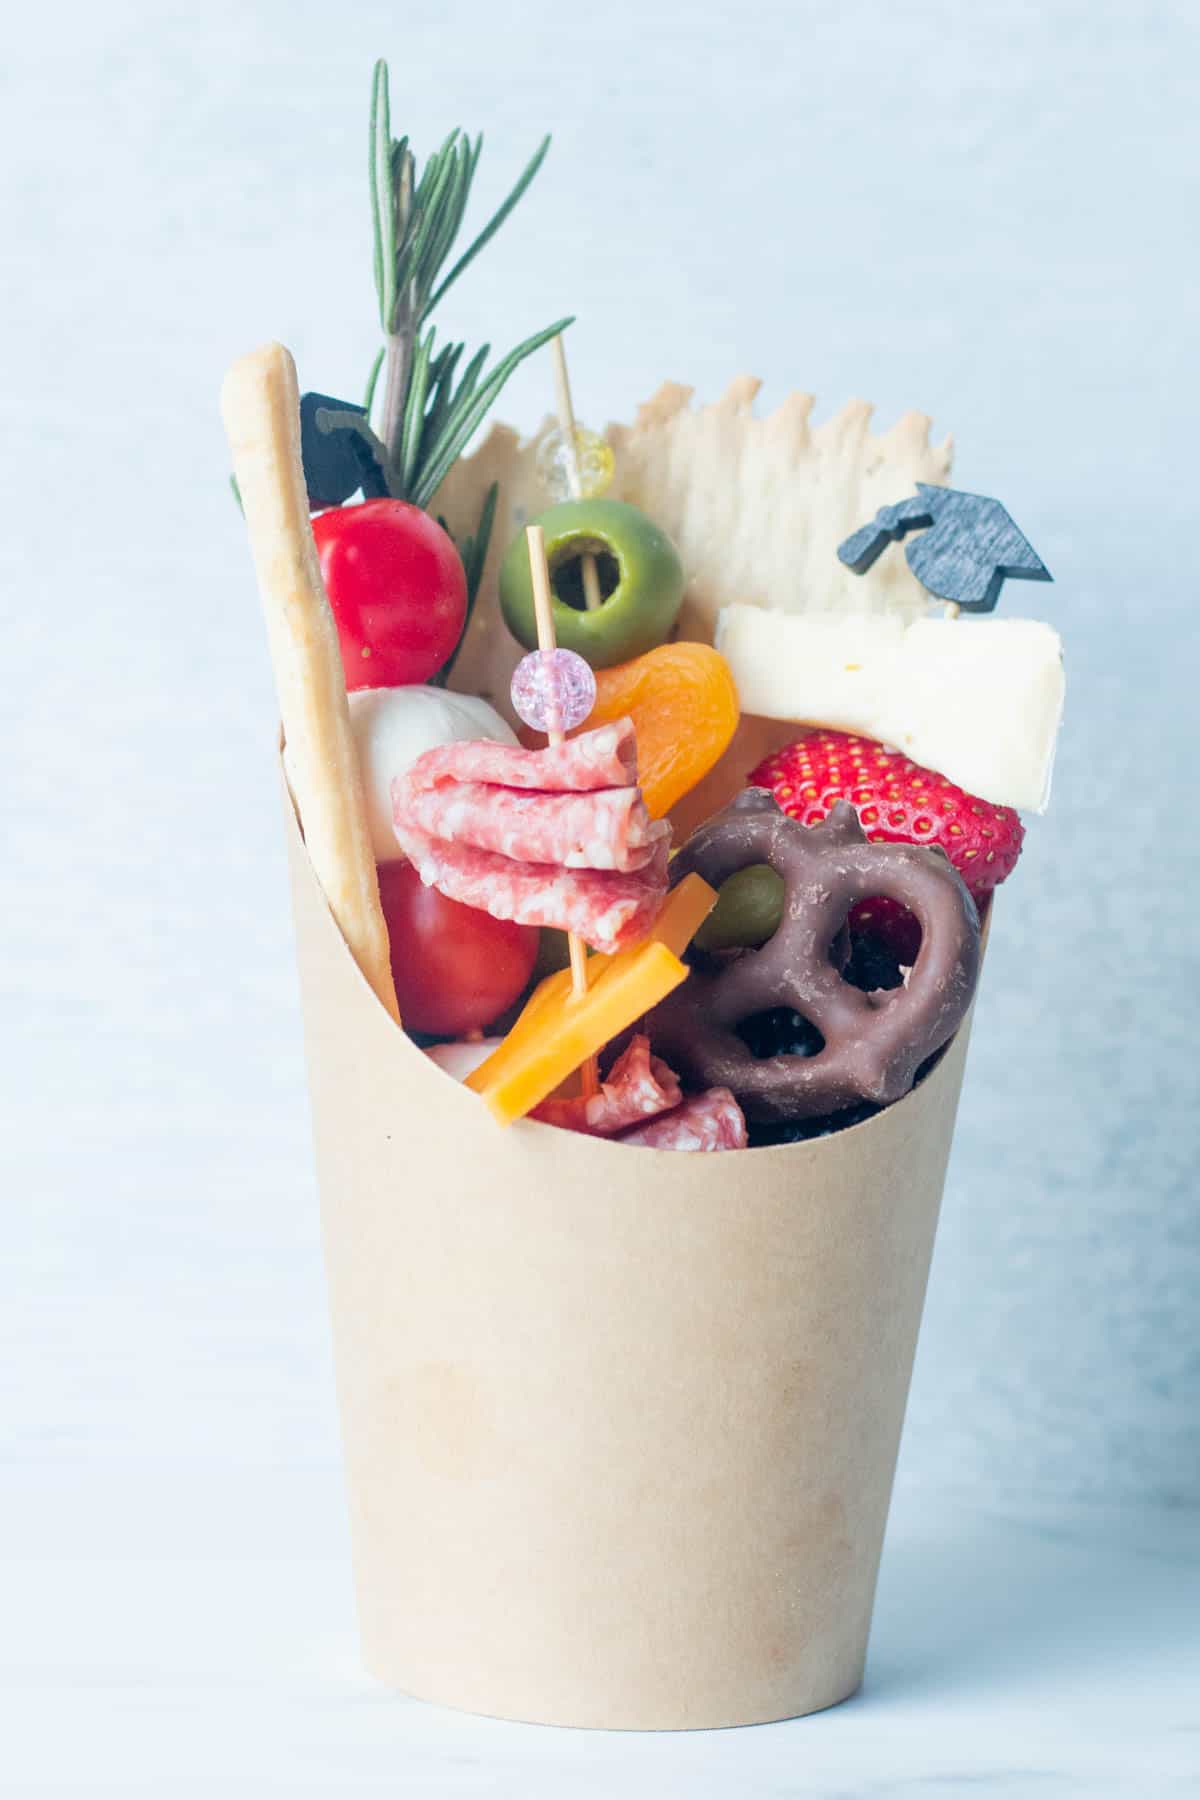
- Fill it up!: You don't want to have too much room between items, so that they stand up straight and are easy to see. I like to place taller, heavier items towards the back of the small cups and the shorter, smaller items in the front. I also like to pad the bottoms of the cups with parchment or paper towels, which helps to prop up the food and make it visible.
- Use a variety of ingredients: Create an eye-catching pop of color with different types of fruits and vegetables. Choose a variety of flavors and textures: soft cheeses, crunchy crackers, salty olives, chewy dried fruit....etc.
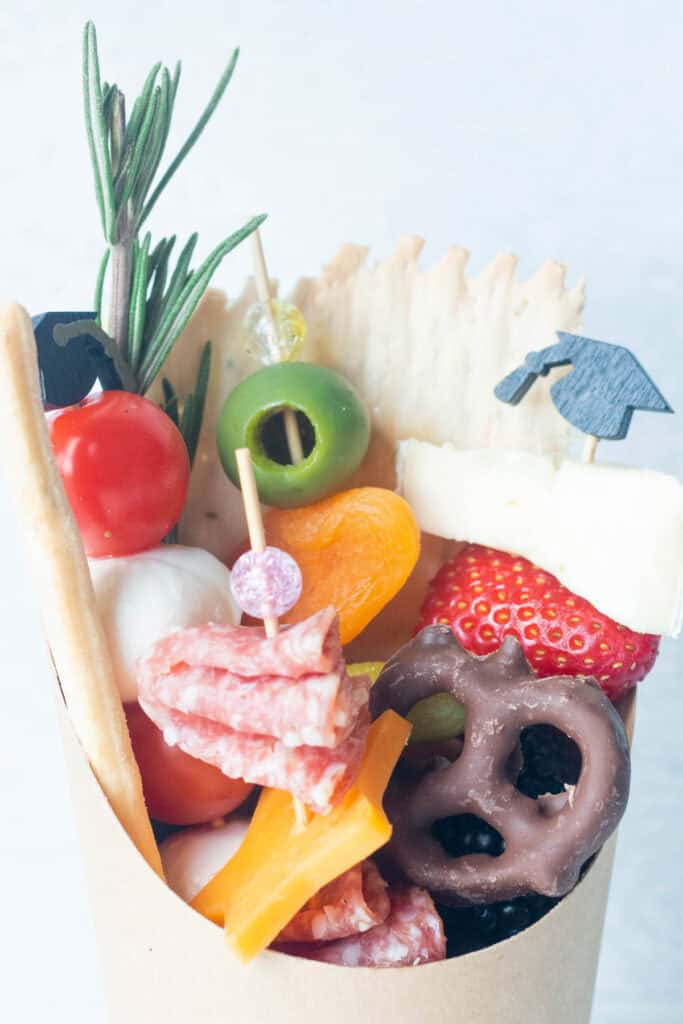
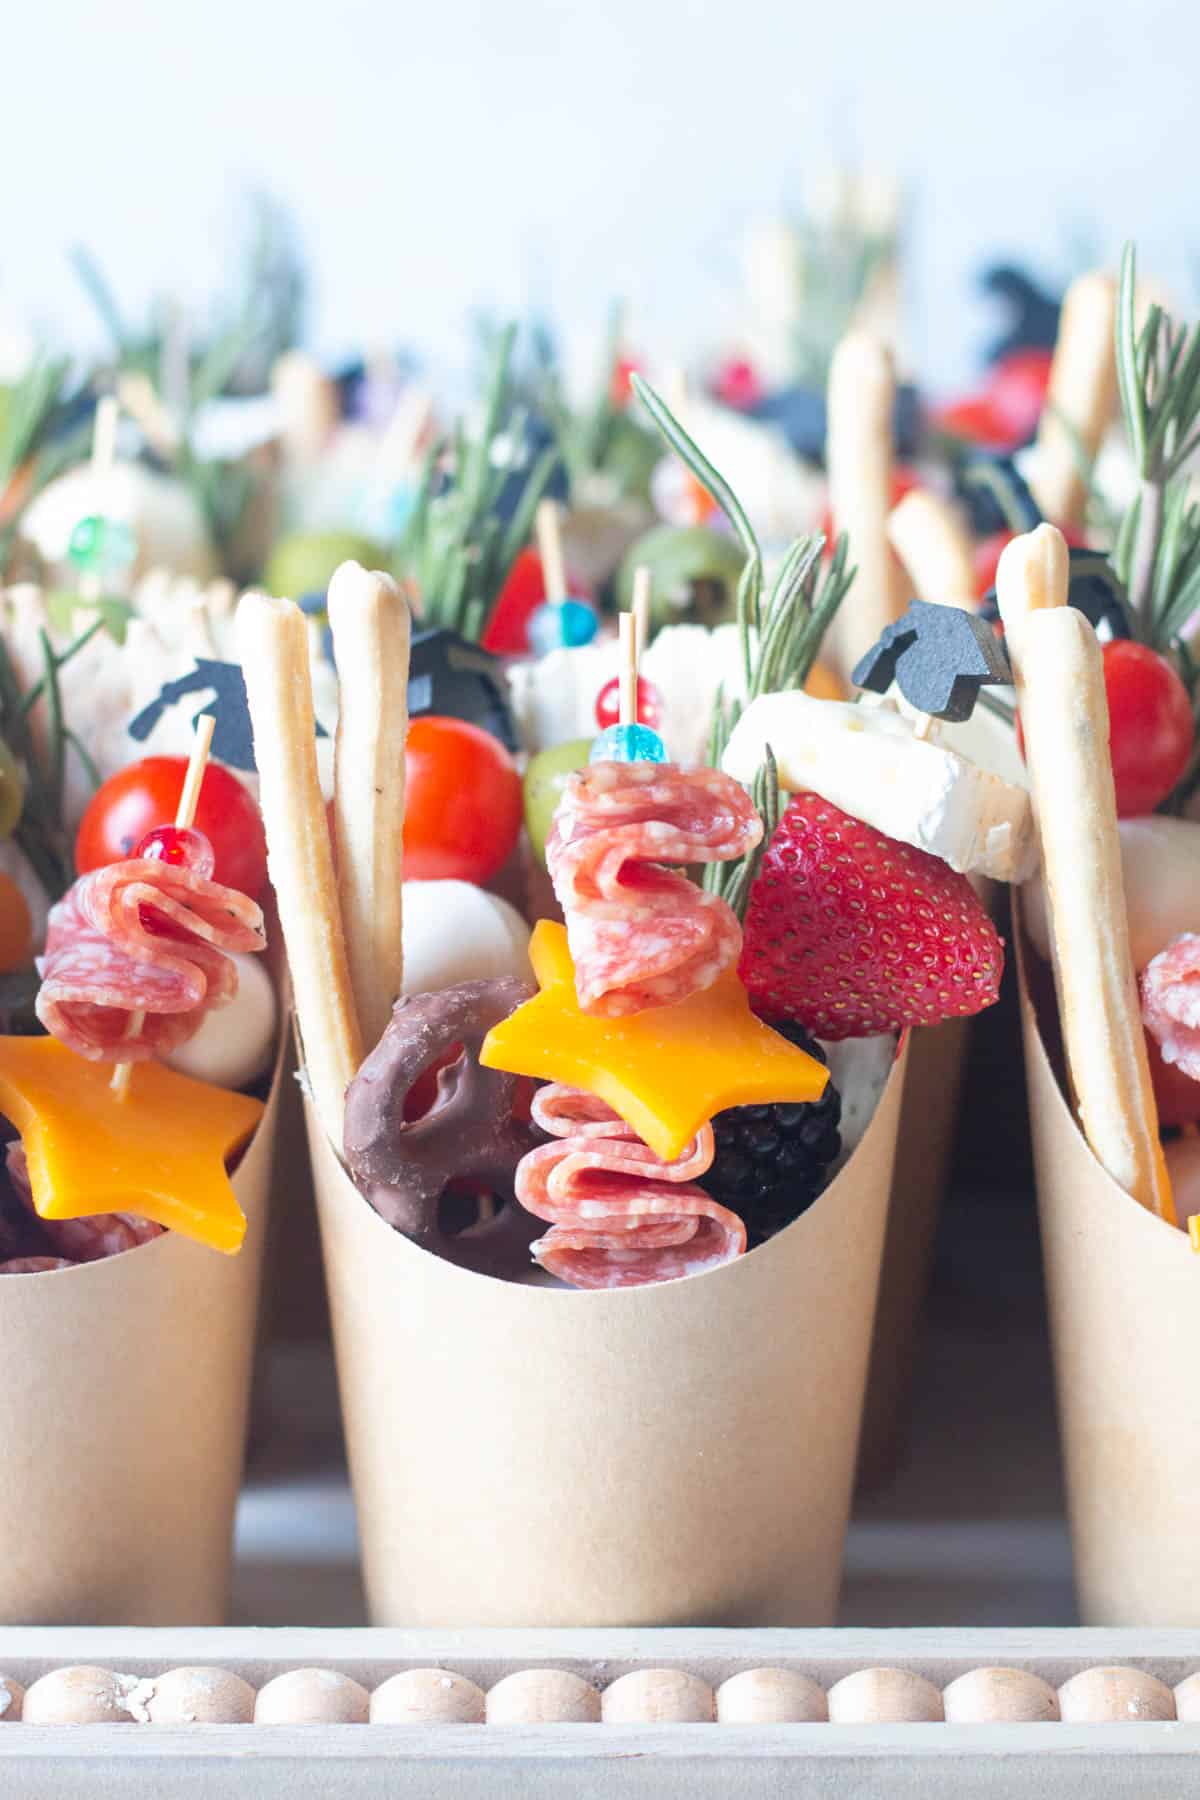
- Make it your own: Depending on the occasion, you can make your own version of easy charcuterie cups to match your theme. These cups in the photos were for a graduation party, so we used themed toothpicks. But you can also cut cheese slices into themed shapes (star, snowflake, heart), or do a color theme such as red, white, and blue!
When and How to Serve Charcuterie Cups
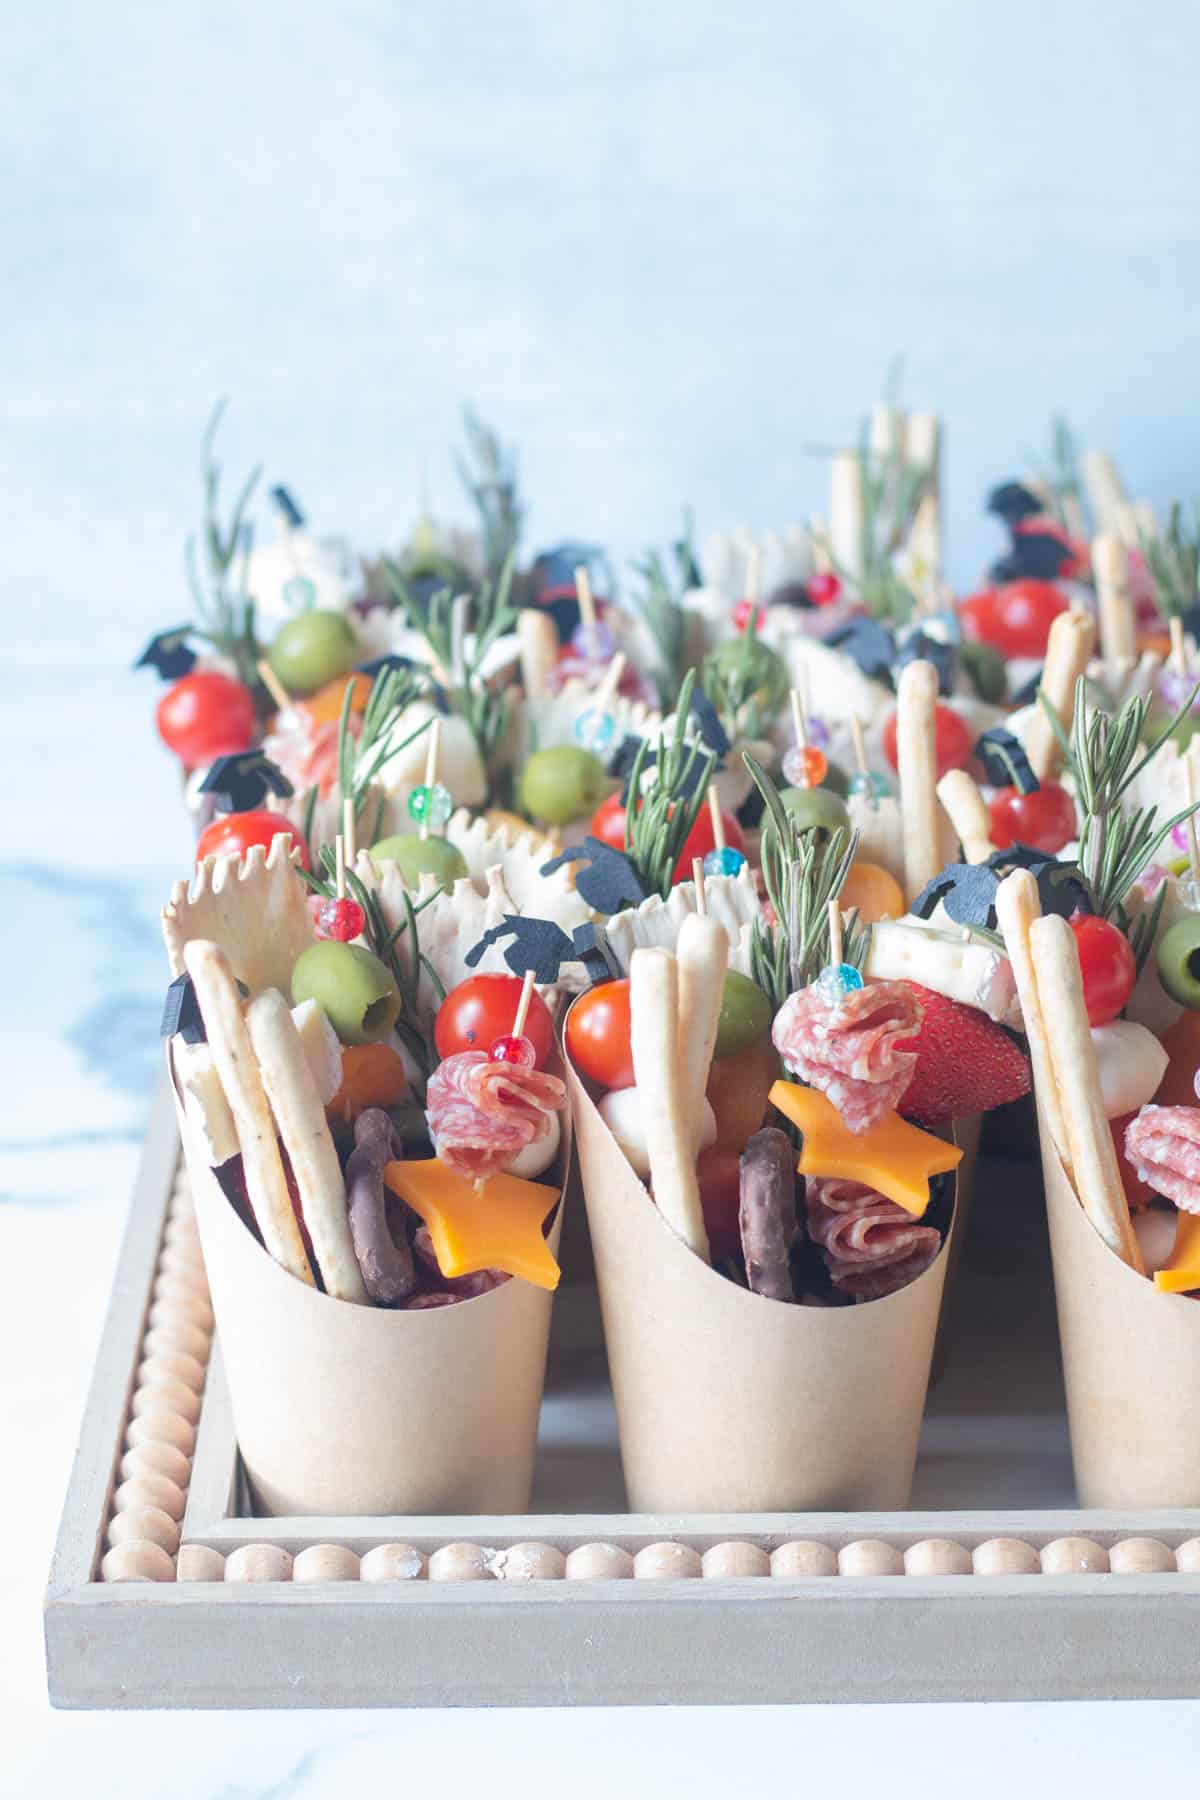
Almost any occasion for which you'd typically display a beautiful charcuterie board or cheese board would be a great option for trying out these appetizer cups:
- Great idea for baby showers or a bridal shower
- Creative snack for game days, tailgates, or a guaranteed huge hit as part of your Super Bowl party spread.
- Festive party appetizer during the holiday season (in lieu of your usual charcuterie board shaped like a tree.)
- Also a great option for a small group gathering such as a book club meeting, a picnic, or a barbecue.
- Portable hors d'oeuvre to serve during a wedding cocktail hour, birthday bash or graduation party.
Recommended Ingredients
See recipe card at the bottom of this post for specific quantities.
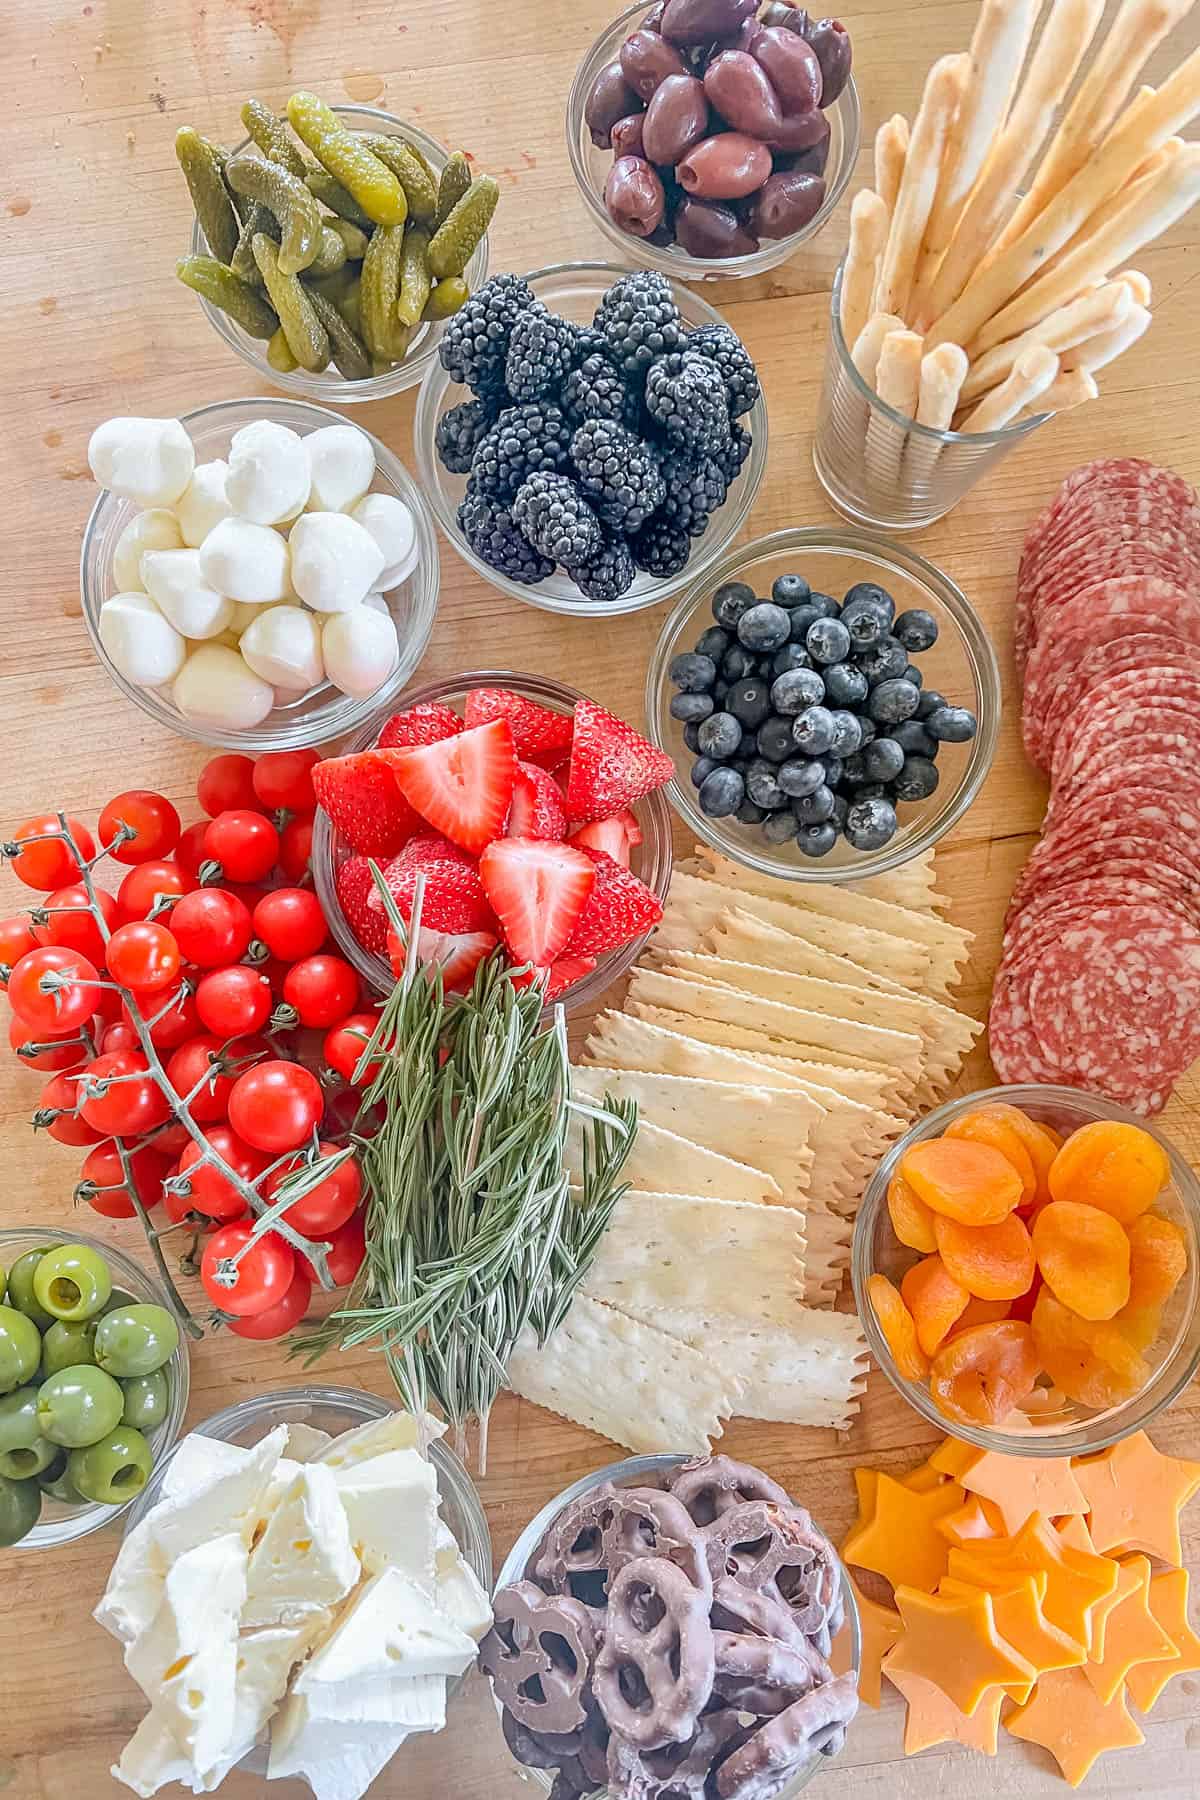
Just like a good charcuterie board, well assembled charcuterie cups will feature a variety of good options for nibbling. Here is a list of my personal favorites, all of which you can likely find at your local grocery store.
Cheeses
Choose a variety of flavors (creamy, sharp), textures (soft vs. firm cheeses), and colors.
- Cheddar cheese: Slices are great for cutting out shapes
- Cubes of cheese: Gruyere, pepper jack, and gouda are all good choices
- Mini mozzarella balls: (Or other mini cheese balls) Thread onto a skewer with tomatoes
- Blue cheese: Just be careful of the aroma -- I love a stinky blue cheese, but not everyone is a fan!
- Brie: Great for cutting into small wedges and stacking with fresh fruit
- Goat cheese: Roll goat cheese in dried herbs or chopped dried fruit for a pop of color.
Meats
Choose one or two -- I usually just choose one variety to thread decoratively onto a skewer with cheese.
- Salami: You can either cube a hard salami, or fold rounds of Genoa salami into a "fan" shape, as I have in the photos
- Prosciutto: Pretty to display with fresh melon and mozzarella
- Pepperoni: A good option if kids are going to be enjoying the cups!
- Deli meat: A more affordable option. Browse the selection of meats available at your deli counter and inspiration will strike!
Fruits / Vegetables
As with the other categories, choose a variety of colors, shapes, and flavors.
- Vegetables: cherry or grape tomatoes, baby carrots, mini pickles (cornichons), black olives or green olives (I love Castelvetranos!), pickled cauliflower, colorful peppers
- Seasonal fruits: Choose fruit that won't brown over time, such as fresh strawberries, blueberries, blackberries or raspberries, and green or red grapes.
- Dried fruit: Larger dried fruit works better, such as apricots, figs, apples, pear, or mango.
Crackers / Extras / Garnish
Great ways to add salt, crunch, and even a little sweet treat!
- Rectangular or taller crackers won't get "lost" in the bottom of the cups.
- Plain or sesame breadsticks, cheese twists, larger pita chips.
- Chocolate covered mini pretzels or yogurt pretzels, or even a foil-wrapped piece of chocolate.
- Fresh herbs such as a rosemary sprig, or edible flowers for a pretty garnish.
Would you like to save this?
Recommended Equipment to Assemble Your Cups
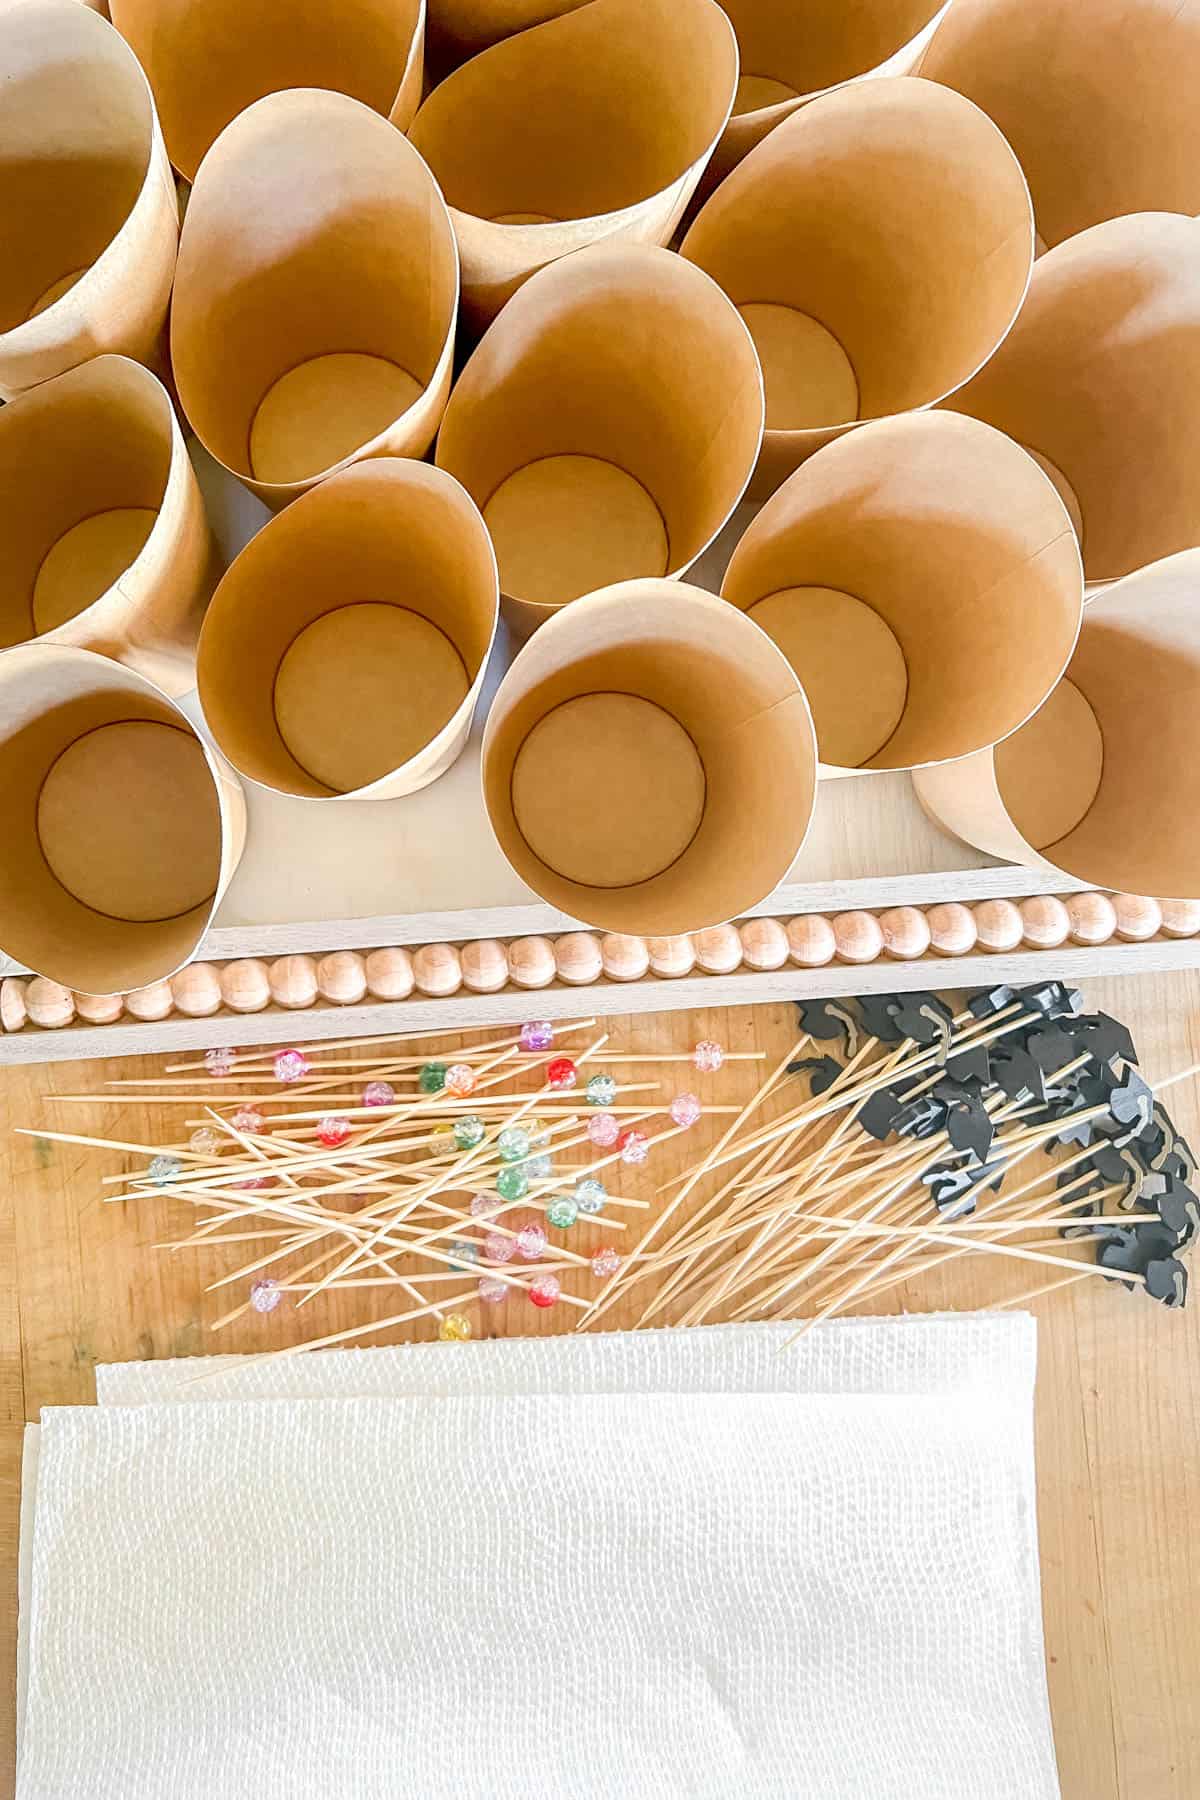
- Individual cups: You'll find a wide variety of paper cups or clear plastic cups online, which you can use for your creations. I prefer paper cups, as the plastic cups show the bottoms and don't look as neat. Look for 12 to 16 ounce cups. The ones used above are 14 ounces.
- Wooden skewers: Like the cups, these are dozen of options for skewers, which are used to display your components. I use 4 skewers per cup, and I look for skewers in the 4.5 to 6-inch range. If your event has a certain theme, you can easily find skewers to match, such as the graduation caps in the photo, football skewers, or even hearts for a wedding or Valentine's Day!
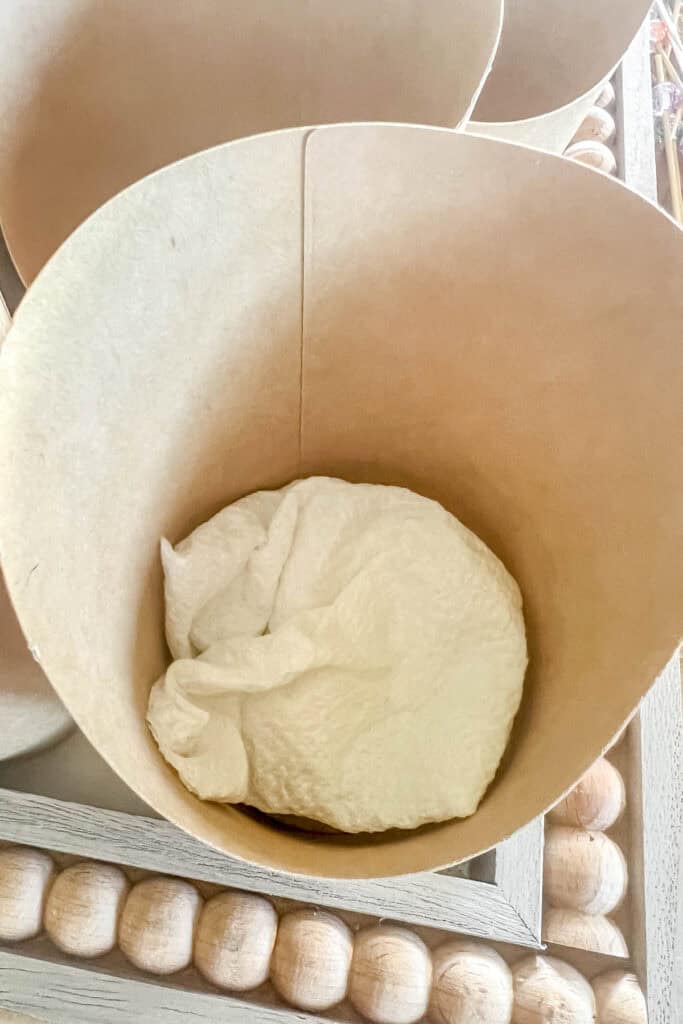
- Parchment or paper towels: Crumple these up to line the bottom of the cups and prop up your food.
- Small shaped cutter: Optional, but fun! Us a small cutter to shape slices of firm cheese into stars, snowflakes, hearts, etc!
Easy Assembly Instructions
Prepare your Charcuterie Cups Assembly Area
- Line the bottom of each empty charcuterie cup with a piece of crumpled up parchment or paper towel. This will help to elevate your ingredients so that they are displayed well as opposed to having them sink down into the cups.
- Cut your cheddar cheese slices into shapes (such as stars, as I did in the photo), or cut them in half diagonally so that you have two triangles per cup.
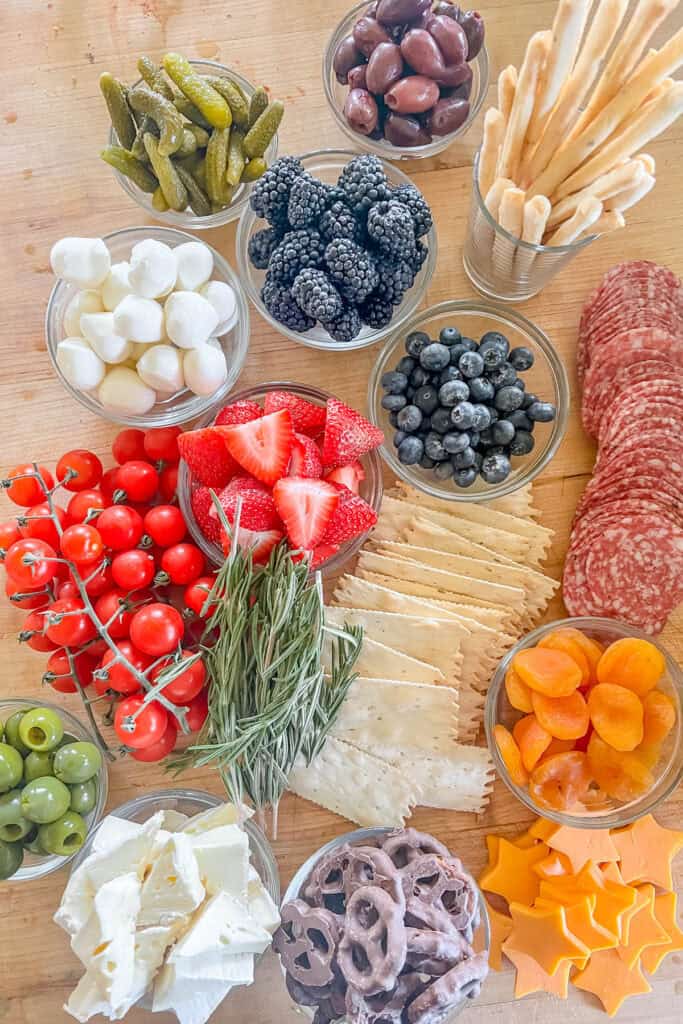
- Arrange all of your individual ingredients and skewers in groups on a lined cookie tray or platter (see my "Ingredient Photo" in the post for an example. This makes it easier to assemble each cup in a pattern without forgetting anything.
Assemble Your Charcuterie Cups
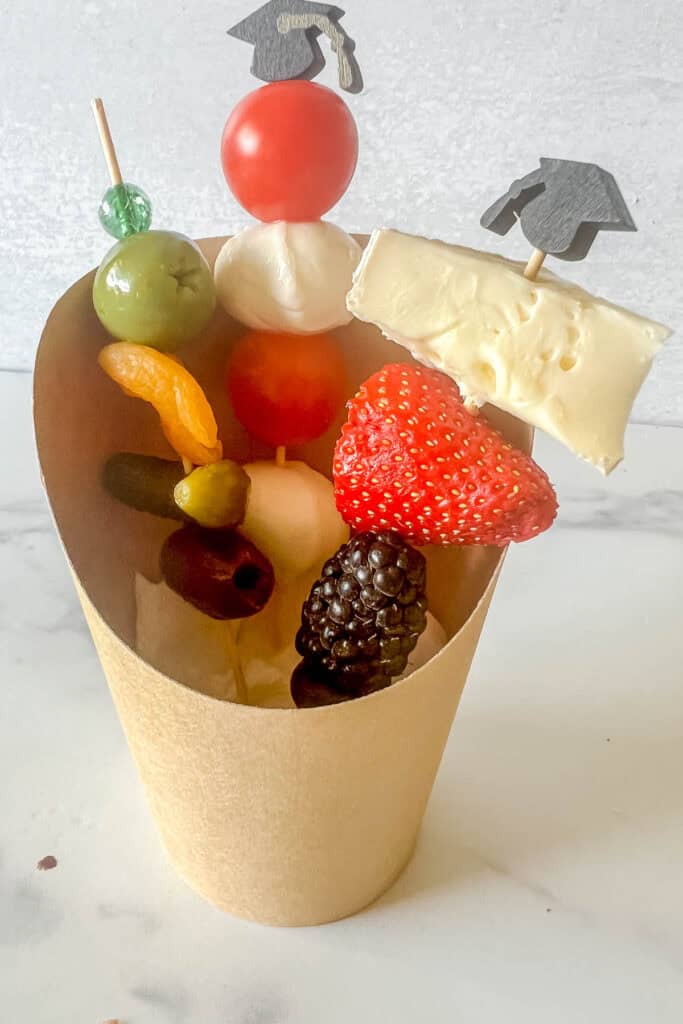
- On one skewer alternate two mozzarella balls with two grape tomatoes.
- On a second skewer, thread one traingle of Brie, followed by a strawberry, blackberry, and blueberry.
- On a third skewer, thread a green olive, dried apricot, cornichon, and a black olive.
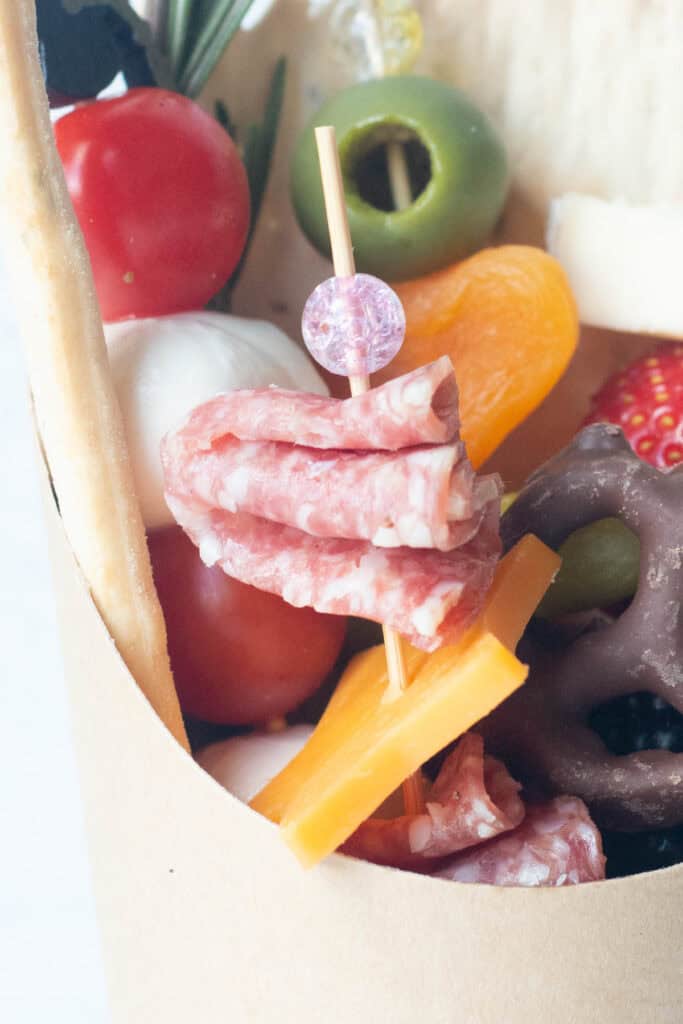
- Fold a piece of salami in half and then fold the half up like a fan (see photo above.) Thread that onto a fourth skewer followed by your cheddar cheese shape and a second folded piece of salami (so that you have salami fan-cheese-salami fan.)
- Arrange the four separate skewers in one of the charcuterie cups, spacing around the cup so that some are towards the front and some towards the back.
- Place the two rectangular crackers in the back of the cup, so that they are propped up and visible. Arrange the two small breadsticks along the side of the cup. Add a chocolate pretzel and a sprig of rosemary for garnish.
- Repeat with the other cups.
Charcuterie Cup Make Ahead and Storage Tips
Make Ahead Ingredient Preparations
As with a charcuterie or cheese board, the best way to assemble your charcuterie cups is with freshly cut or prepared ingredients. But if you are crunched for time, you can portion out the cheeses and meats the night before. Cover them tightly with plastic wrap and chill until you are ready to assemble.
Storage Tips
While is highly unlikely that any of your beautiful charcuterie cups will be leftover, if you do have some remaining, store them overnight in the refrigerator, tightly covered with plastic or in an airtight container. I don't recommend storing them any longer that this. I also suggest removing crackers, breadsticks, etc. before refrigeration, as they tend to soften and absorb other flavors.

More Of My Favorite Recipes For Entertaining, (Perfect Alongside A Charcuterie Cups Display)!
- How to Make Perfect Salami Roses for a Charcuterie Board
- The Best (Award Winning!) Juicy Burger Recipe
- Favorite Spinach Salad with Maple Dijon Dressing
- Italian Bow Tie Pasta Salad
- Mini Apple Strudels (Apfelstrudels)
Tried this recipe and loved it? Take a photo and tag me on Instagram or give it a review!
Individual Charcuterie Cups
Equipment
- 12 14 ounce charcuterie cups (see "Recommended Equipment" section in post)
- parchment paper or paper towels
- 50 5-inch cocktail sticks (see "Recommended Equipment" for varieties)
- 1 small star shaped cutter (optional)
Ingredients
- 8 oz container mozzarella balls (ciliegine)
- 24 grape or cherry tomatoes
- 12 oz brie cheese, cut into 12 wedges
- 12 fresh large blackberries
- 12 fresh medium strawberries
- 12 fresh plump blueberries
- 12 kalamata olives (pitted)
- 12 green olives (pitted) (recommend Castelvetrano olives)
- 12 cheddar cheese squares -- "snack cut" size (see Notes below and "Ingredients" section in post)
- 12 cornichons (tiny dill pickles)
- 24 slices salami
- 12 dried apricots
- 12 mini chocolate covered pretzels
- 24 mini breadstick crackers
- 24 long rectangular crackers (such as La Panzanella)
- 12 sprigs fresh rosemary
Would you like to save this?
Instructions
Prepare Your Charcuterie Cups Assembly Area
- Line the bottom of each empty charcuterie cup with a piece of crumpled up parchment or paper towel. This will help to elevate your ingredients so that they are displayed well as opposed to having them sink down into the cups.
- Cut your cheddar cheese slices into shapes (such as stars, as I did in the photo), or cut them in half diagonally so that you have two triangles per cup.
- Arrange all of your individual ingredients and skewers in groups on a lined cookie tray or platter (see my "Ingredient Photo" in the post for an example. This makes it easier to assemble each cup in a pattern without forgetting anything.
Assemble Your Charcuterie Cups
- On one skewer alternate two mozzarella balls with two grape tomatoes.
- On a second skewer, thread one traingle of Brie, followed by a strawberry, blackberry, and blueberry.
- On a third skewer, thread a green olive, dried apricot, cornichon, and a black olive.
- Fold a piece of salami in half and then fold the half up like a fan. Thread that onto a fourth skewer followed by your cheddar cheese shape (star or otherwise) and a second folded piece of salami (so that you have salami fan-cheese-salami fan.)
- Arrange the four separate skewers in one of the charcuterie cups, spacing around the cup so that some are towards the front and some towards the back.
- Place the two rectangular crackers in the back of the cup, so that they are propped up and visible. Arrange the two small breadsticks along the side of the cup. Add a chocolate pretzel and a sprig of rosemary for garnish.
- Repeat with the other cups and serve!
