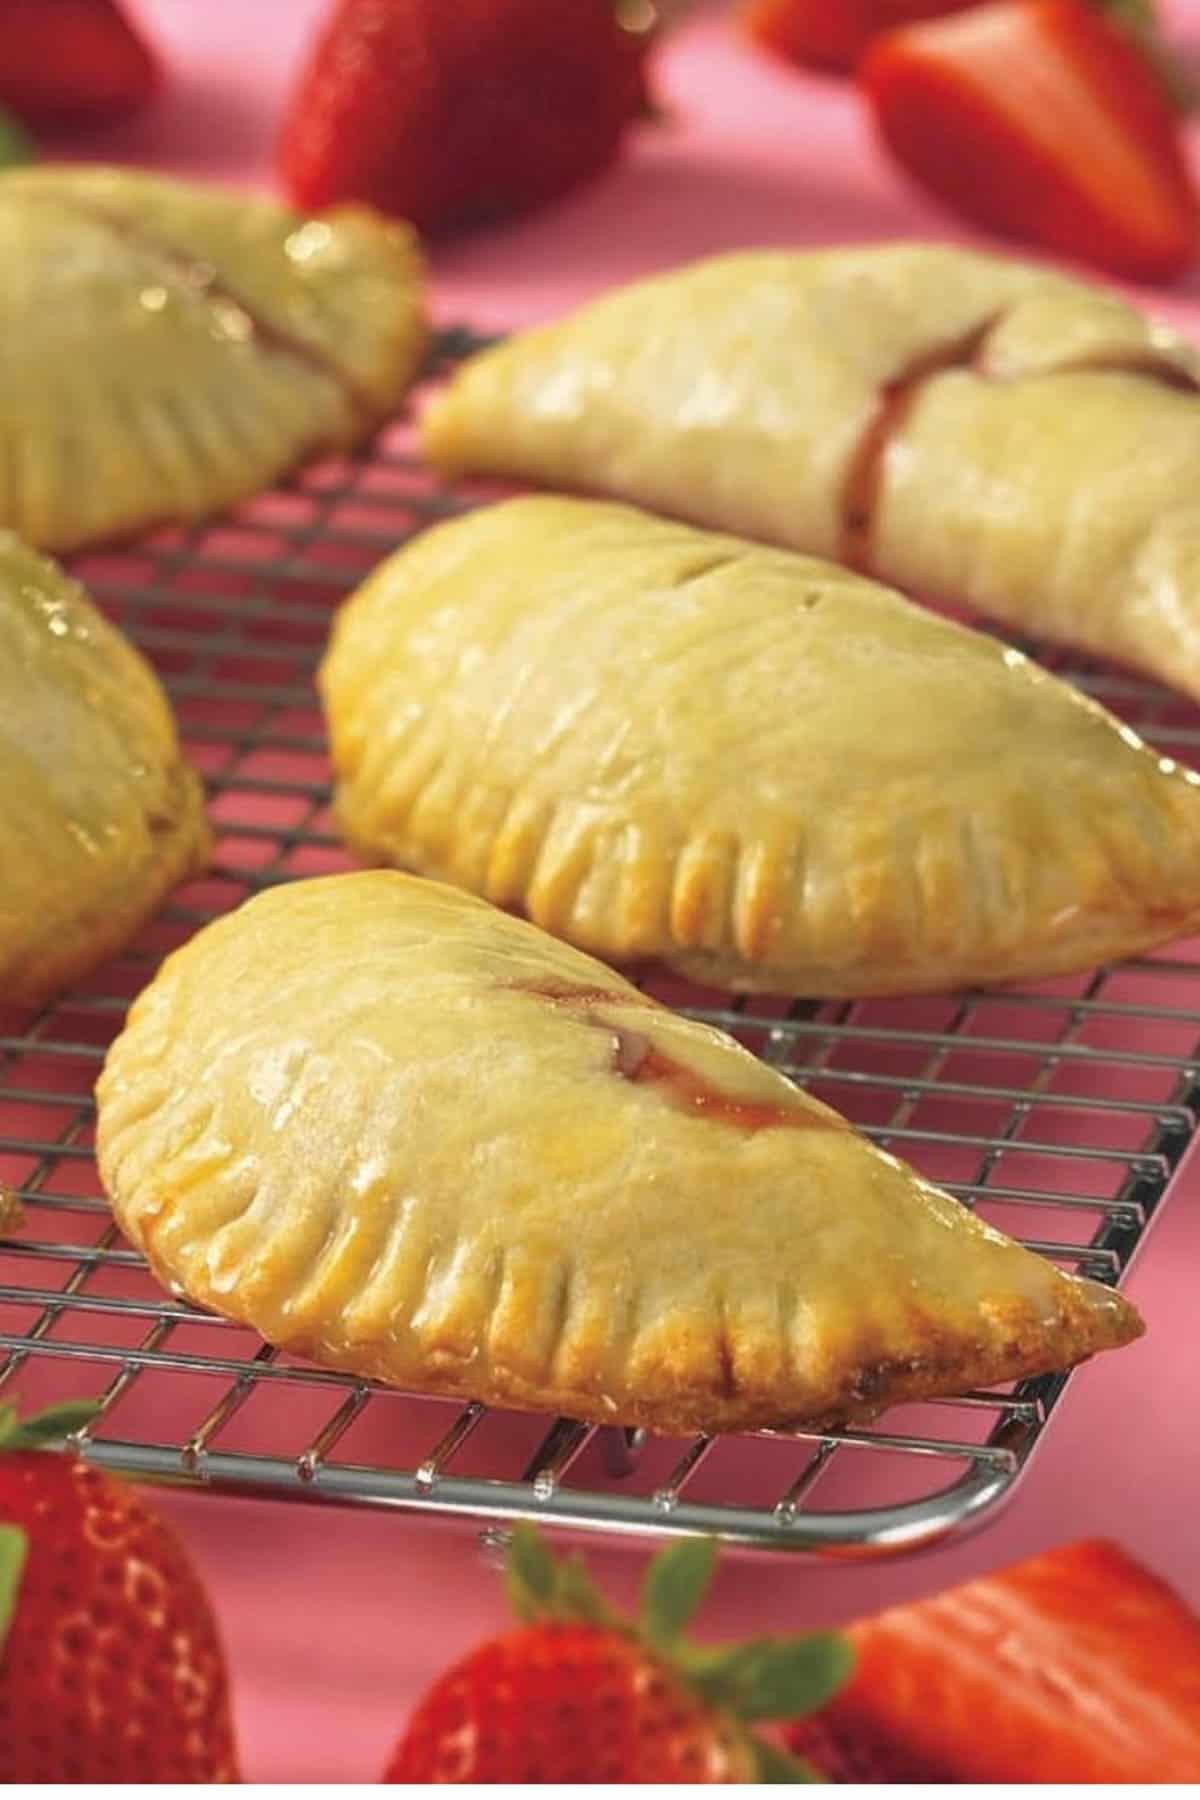
Flaky Hand Pie Crust recipe (For Homemade Mini Pies)
This flaky hand pie crust recipe enables you to enjoy the equivalent of a slice of apple pie that fits into the palm of your hand. It allows you to eat a whole pie, without eating the whole pie. Ok, so it's a mini pie, but still.... Homemade hand pies are some of my favorite desserts (and I created a LOT of them for my first cookbook, 175 Best Mini Pie Recipes.) This dough bakes up into a buttery crust that pairs with both sweet and savory fillings. And even though the crust is flaky, it is strong enough to be held in your hand. Win-win.
Why this is the only Hand Pie Crust Recipe You'll ever Need
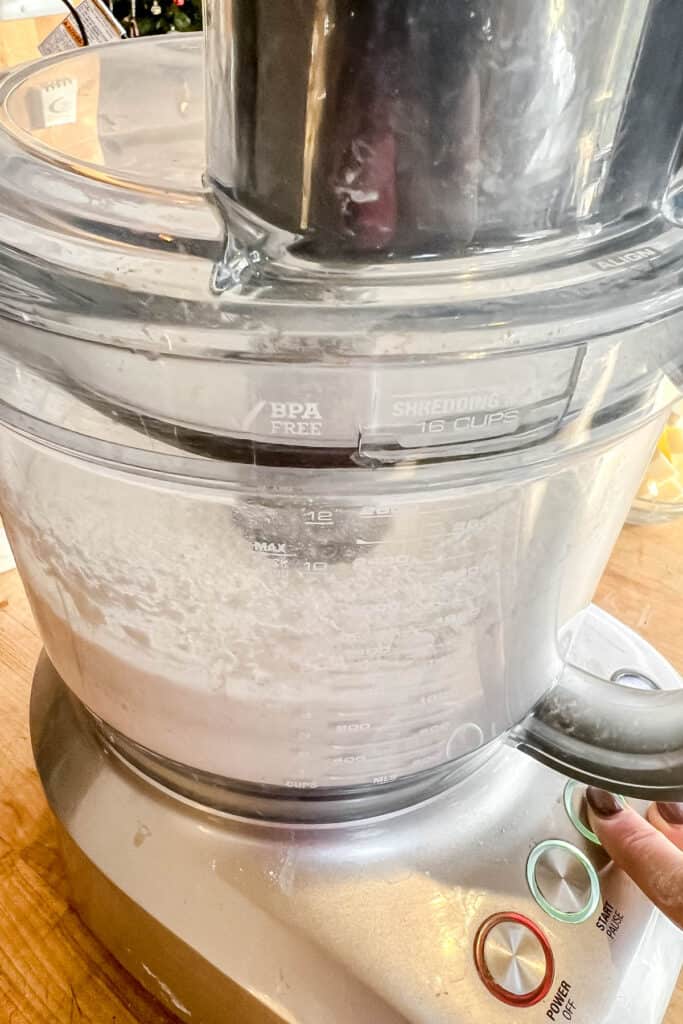
- Flaky yet sturdy pies: When making hand pie dough, you are looking to create a flaky crust that is also strong. Unlike a standard homemade pie crust recipe, which rests comfortably in a pie plate, the hand pie needs to stay in one piece when picked up for a bite. For best results, I recommend mixing this dough in the food processor. The buttermilk keeps the texture tender even though the dough is handled more than a classic pie crust.
- Variety: With its buttery taste and flaky layers, this crust is as delicious wrapped around fruity blueberry hand pies as it is rich cream-filled pies and meaty, savory hand pies
- Make ahead recipe: Assembled hand pies can be frozen for up to one month in an airtight container and the baked straight from the freezer. Baked hand pies can be stored at room temperature, covered, for up to two days. Reheat on a baking sheet covered with aluminum foil at 325F for 12-15 minutes.
Ingredients and Special Equipment
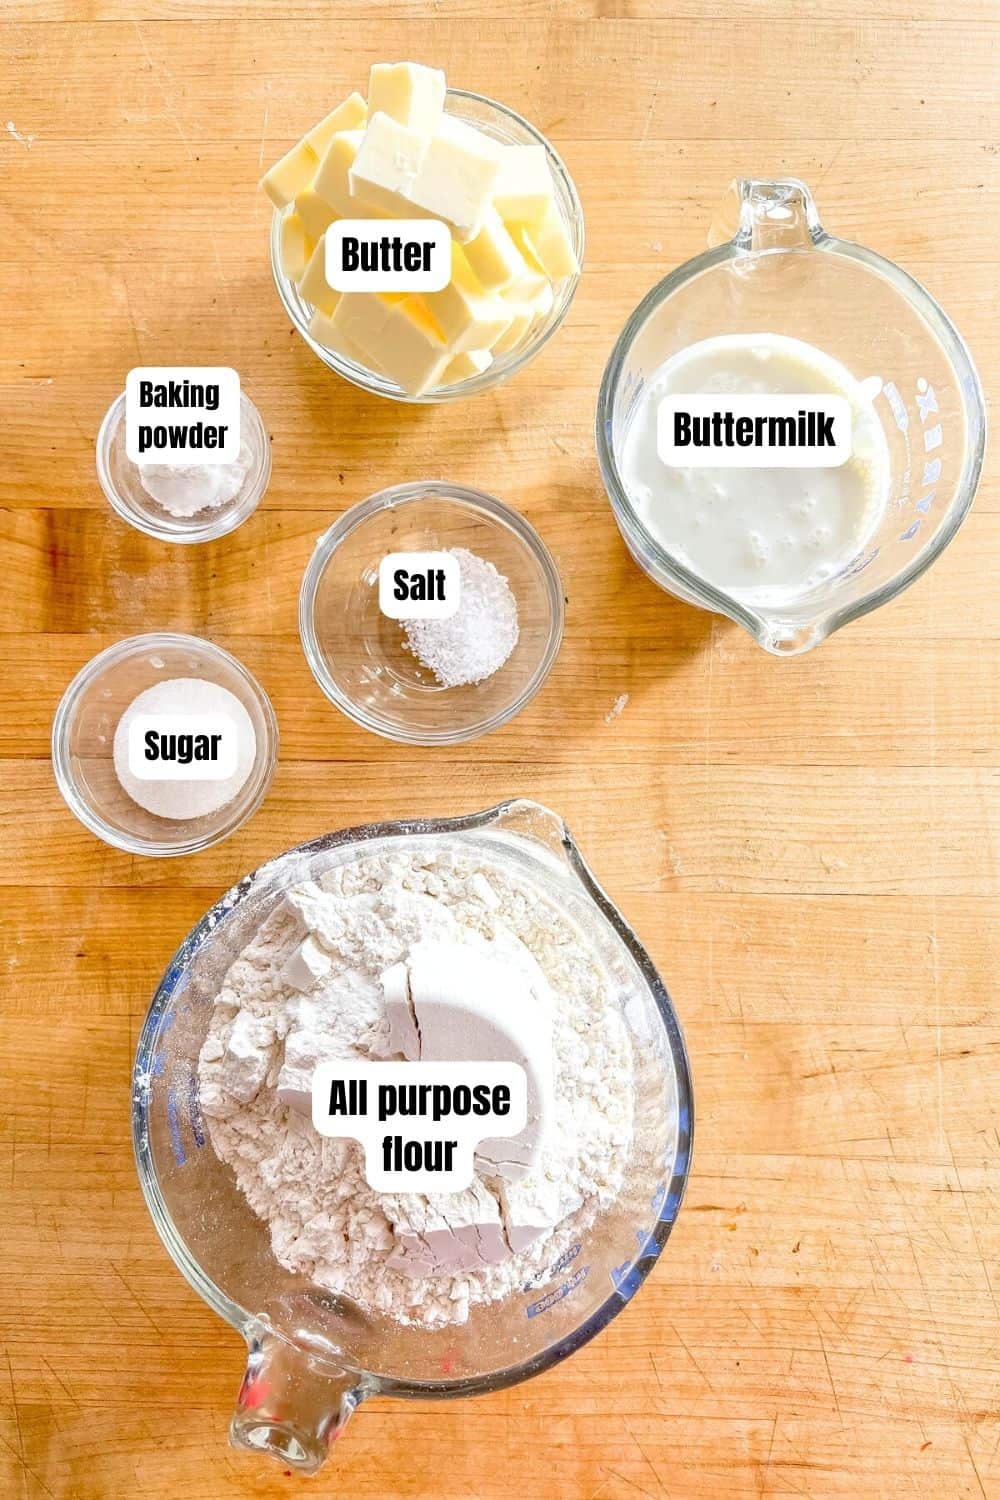
Hand Pie Crust Ingredients
- All purpose flour: To make this recipe gluten free, substitute an equal amount of your favorite GF flour blend. Alternatively, use my tried and true from Gluten Free Pie Crust recipe (also found in 175 Best Mini Pie Recipes.)
- Baking powder: Allows the flaky pie crust to puff up while baking, leaving room for the filling.
- Salt
- COLD butter: Any good pie crust starts with small pieces of cold butter mixed into the dry ingredients. During the baking process, this creates small pockets of butter that melt, creating steam that puffs up the dough, resulting in a flaky, layered texture.
- Buttermilk: Cold buttermilk is a secret ingredient in several of my pie crust recipes. The acid in buttermilk helps to create a flavorful, tender pie crust. If you don't have buttermilk, mix 10 tablespoon milk with 2 teaspoon (10 mL) lemon juice and let it sit on the counter for 10 minutes before adding. Alternatively, substitute equal amounts of ice water.
- Egg wash: 1 egg plus 1 tablespoon (15 mL) water mixed together in a small bowl.
Special Equipment
- Food processor (optional but recommended): A food processor fitted with the metal blade is the easiest, least messy way to make this crust. It does an excellent job of bringing the dough together. This is important when creating a hand pie crust that is strong enough to hold a filling. If you don't have a food processor, see the FAQ section, below, for alternatives.
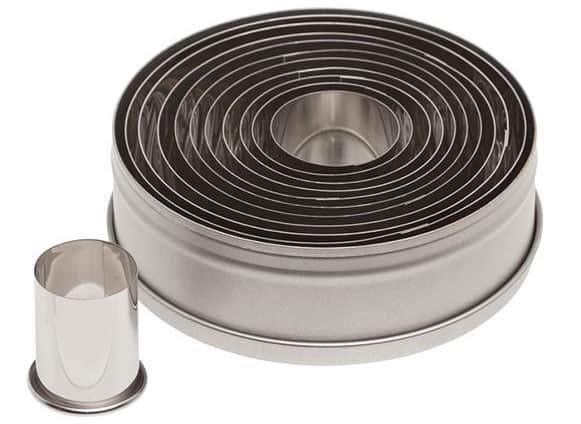
- Round cutters (pictured above): Graduated round cutters are only one option for shaping hand pies, the one that I use most often. See "Variations," below, for other suggestions for shaping your mini pies.
- Rolling pin
- Pastry brush: Helpful for brushing the egg wash onto the dough.
Step by step Photos and Instructions

Hand Pie Crust Dough
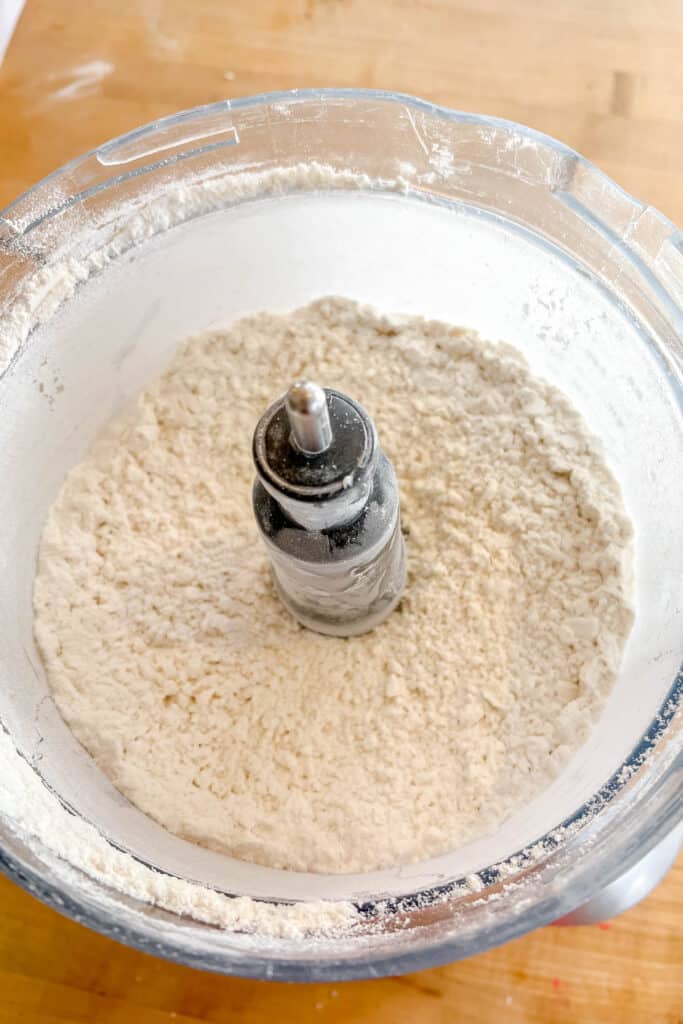
- In the work bowl of a food processor fitted with a metal blade, combine flour, sugar, baking powder, and salt; pulse several times to blend.
- Scatter the butter overtop of the dry ingredients and pulse the processor several times, until the butter is the size of small peas.
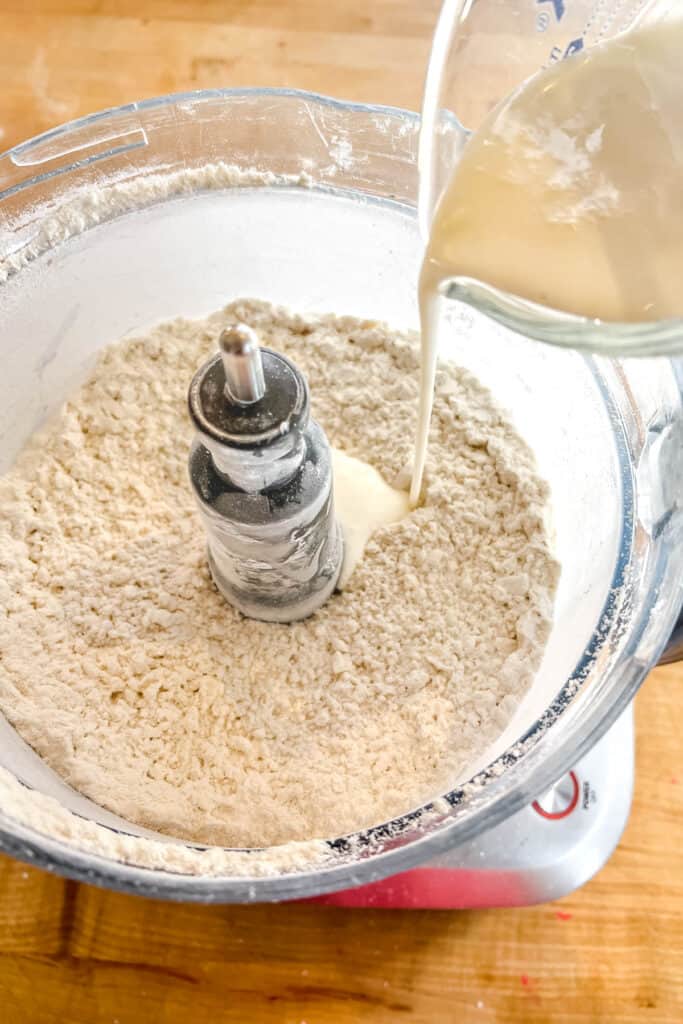

3. Drizzle half of the buttermilk over the flour mixture and pulse 4 to 5 times to combine. Add more buttermilk, 1 tablespoon (15 mL) at a time, pulsing after each addition, just until the dough starts to hold together in moist clumps. You might not need all of the buttermilk.
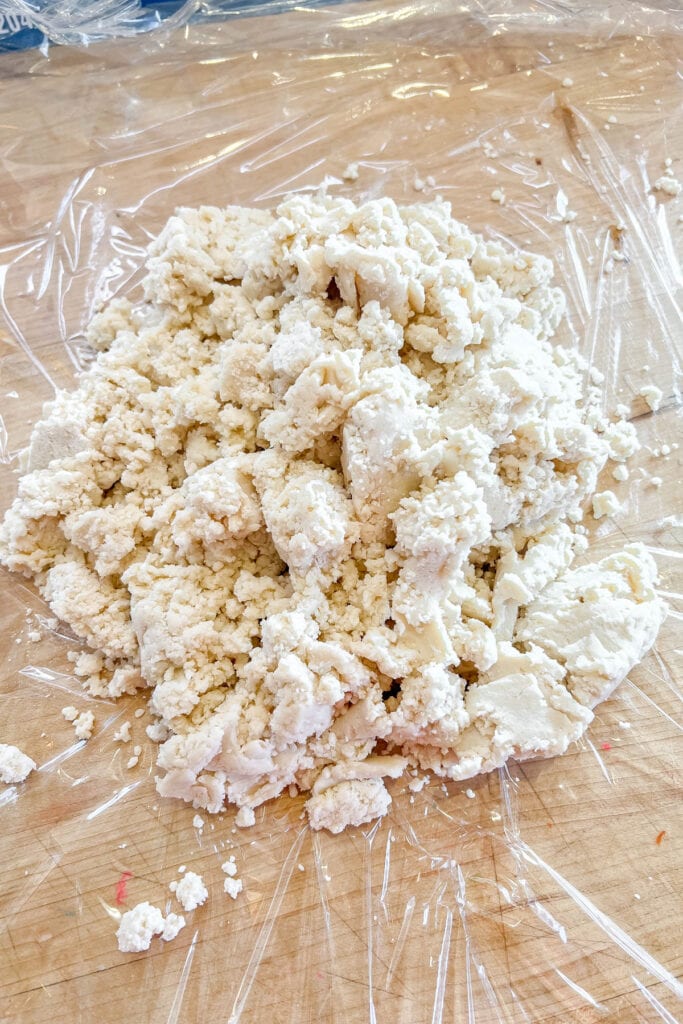

4. Transfer the dough to a large piece of plastic wrap and shape it into a ball. Flatten the ball into a disk and wrap it tightly in the plastic wrap. Refrigerate for at least 1 hour before proceeding.
Hand Pie Assembly
- Remove your dough from the refrigerator and unwrap it. Divide dough into two pieces. On a lightly floured work surface, roll out one piece of pie dough to slightly thicker the 1/16 inch (2mm.)
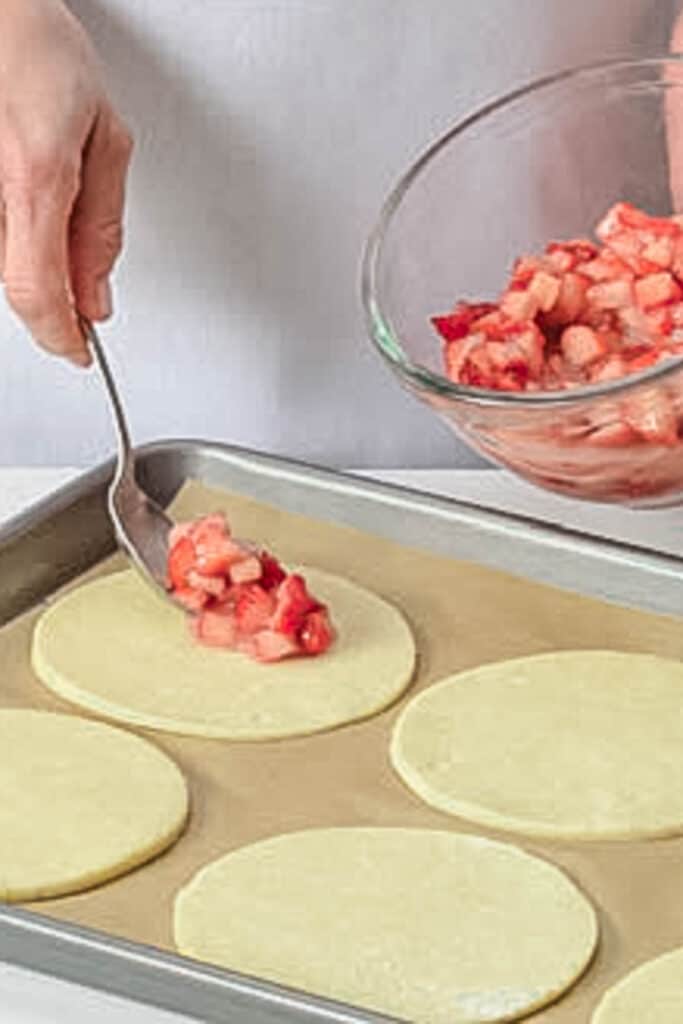
- Using your round cutter, cut the dough into rounds and place them on baking sheet lined with parchment paper, spacing apart.
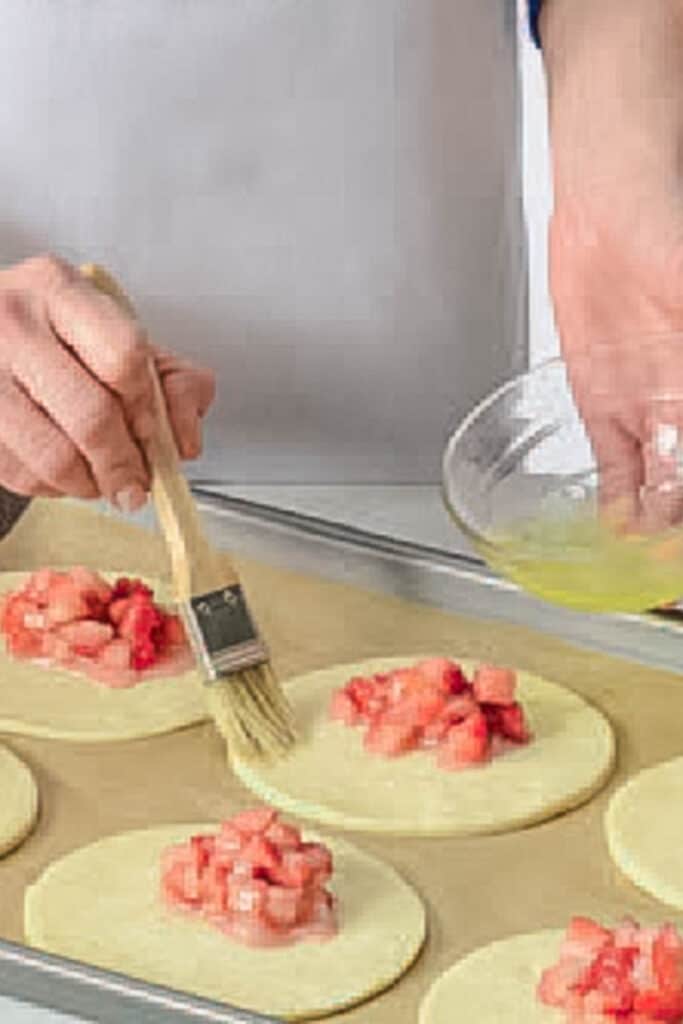
- Place about 2 tablespoon (30 mL) of your filling in the center of each round.
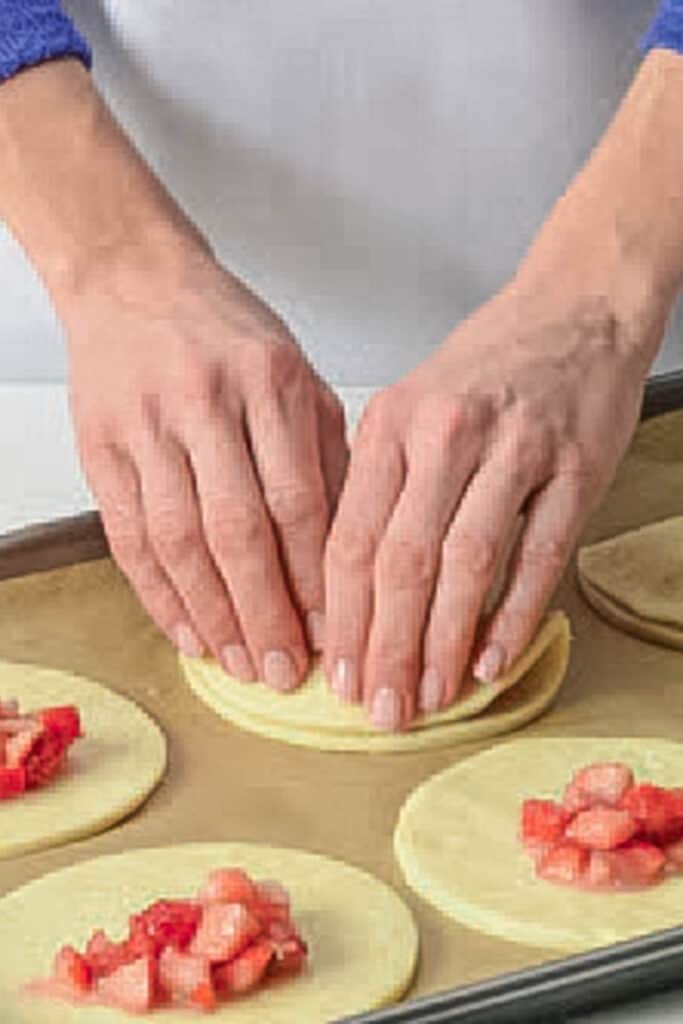
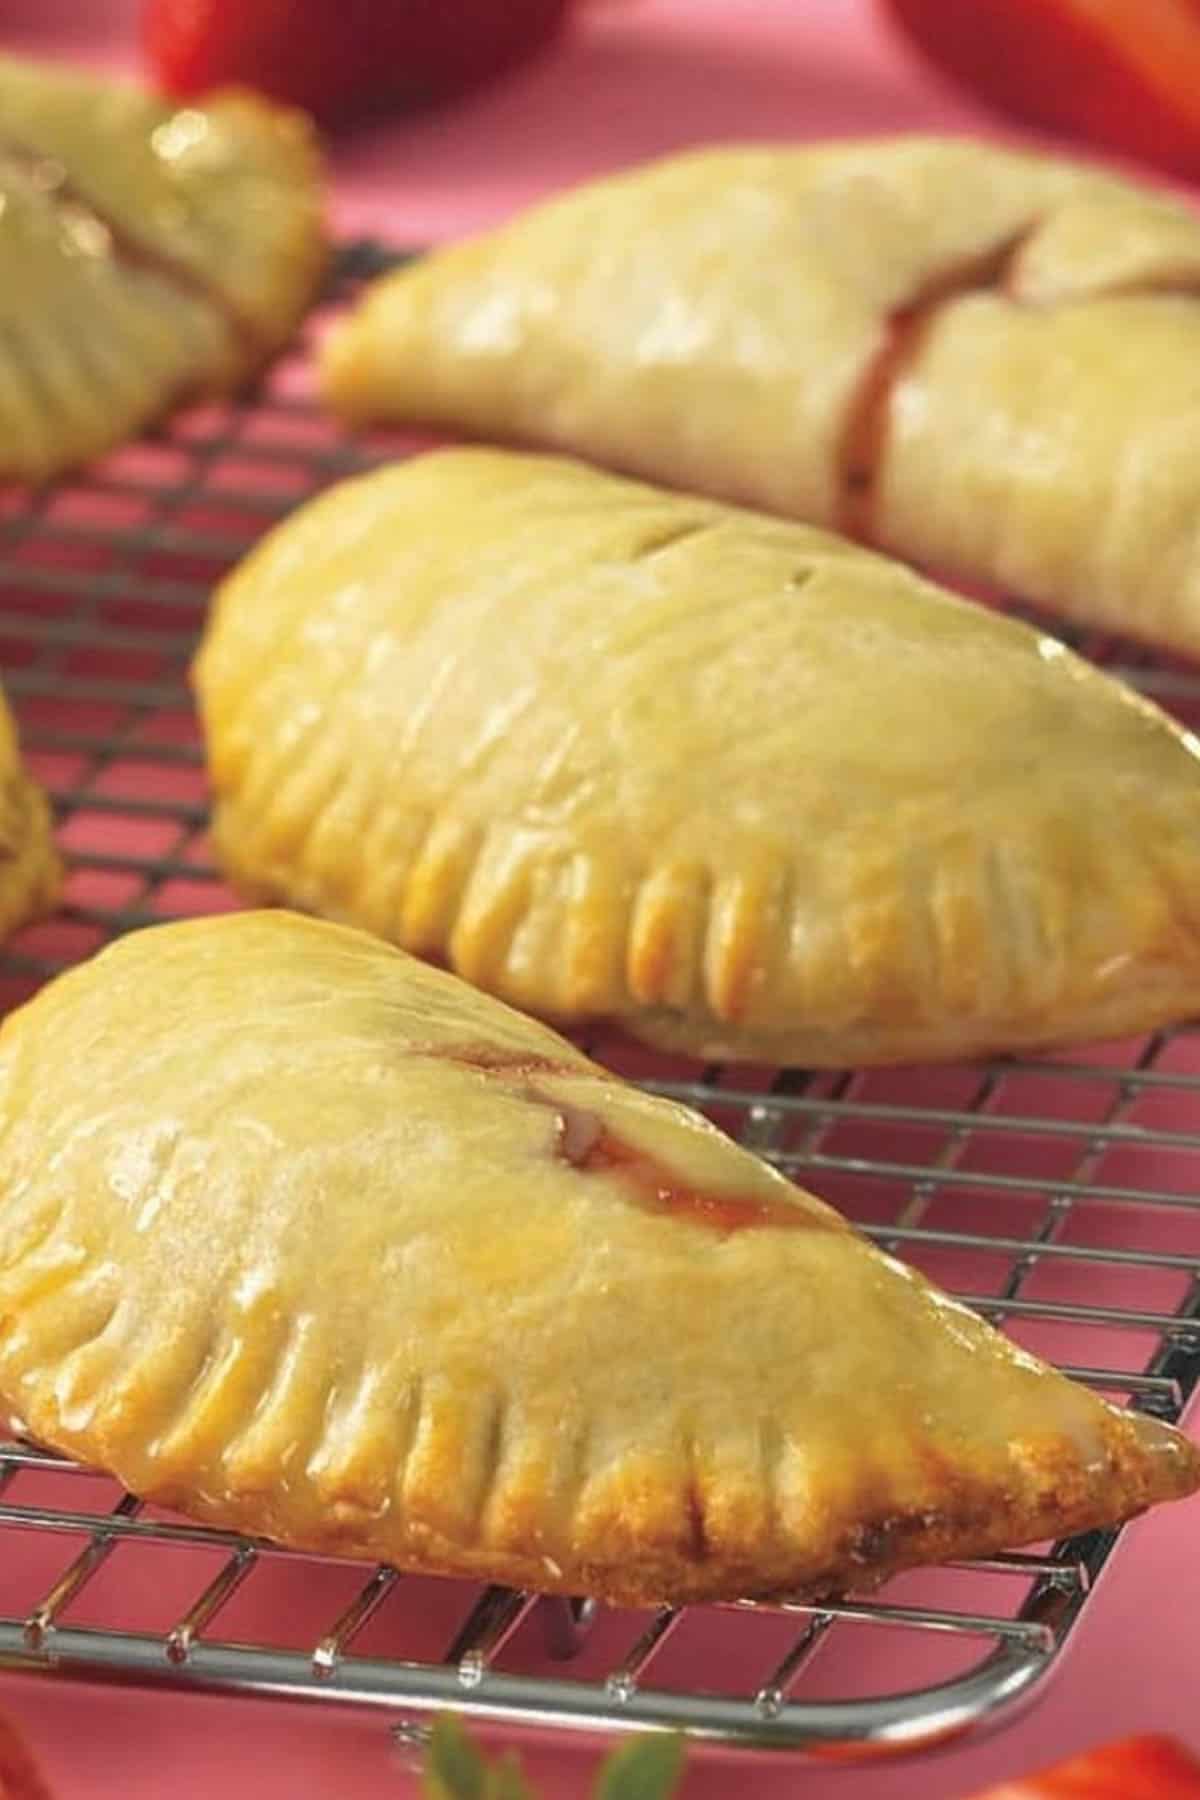
- Brush the edge of each round with egg wash and then fold the rounds in half, pressing all around the edges to seal.
Would you like to save this?


5. Crimp the edges of the hand pie with the tines of a fork and then brush the tops with more egg wash. Repeat with remaining dough. Freeze pies for 30 minutes.
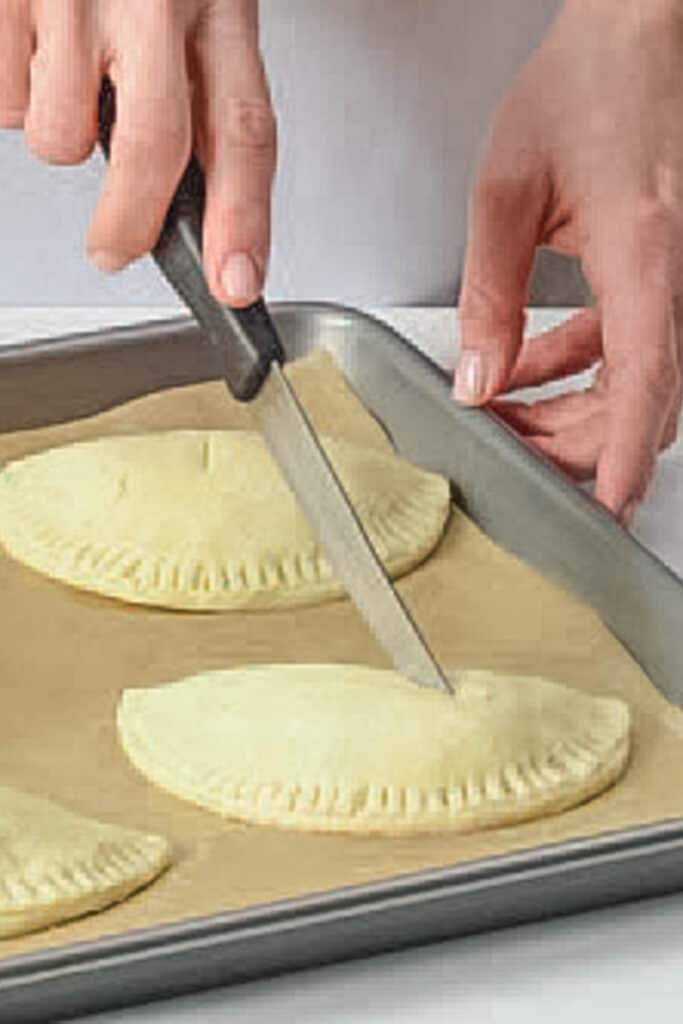
6. When you are ready to bake, cut 2 or 3 small slits in the top of each pie with a paring knife or a small knife. Bake your hand pie as your recipe directs on a parchment lined baking sheet until golden brown. I usually bake my hand pies at 375F for 25-30 minutes, or until the tops and bottoms are deep golden brown, but it depends on the filling that you use and the size of the pie that you’ve made.
Variations
Shapes
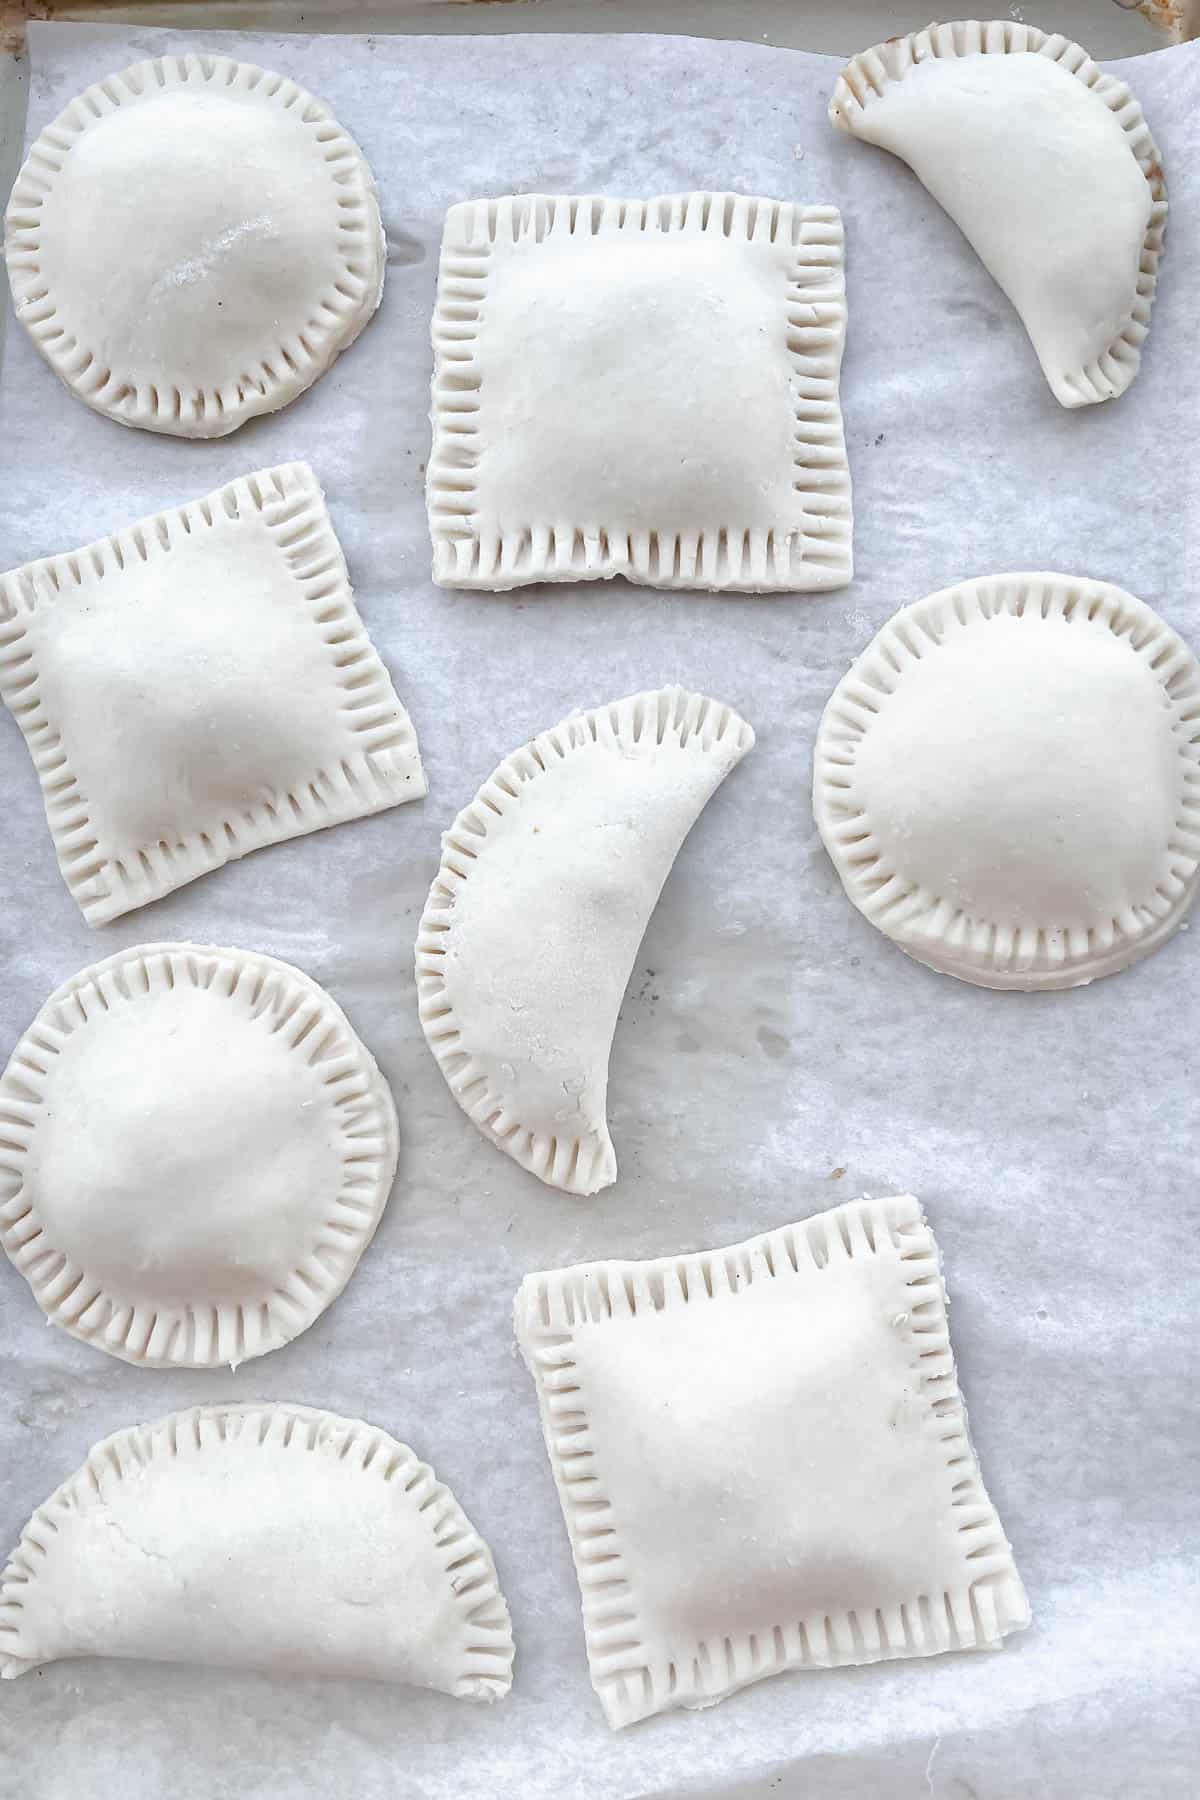
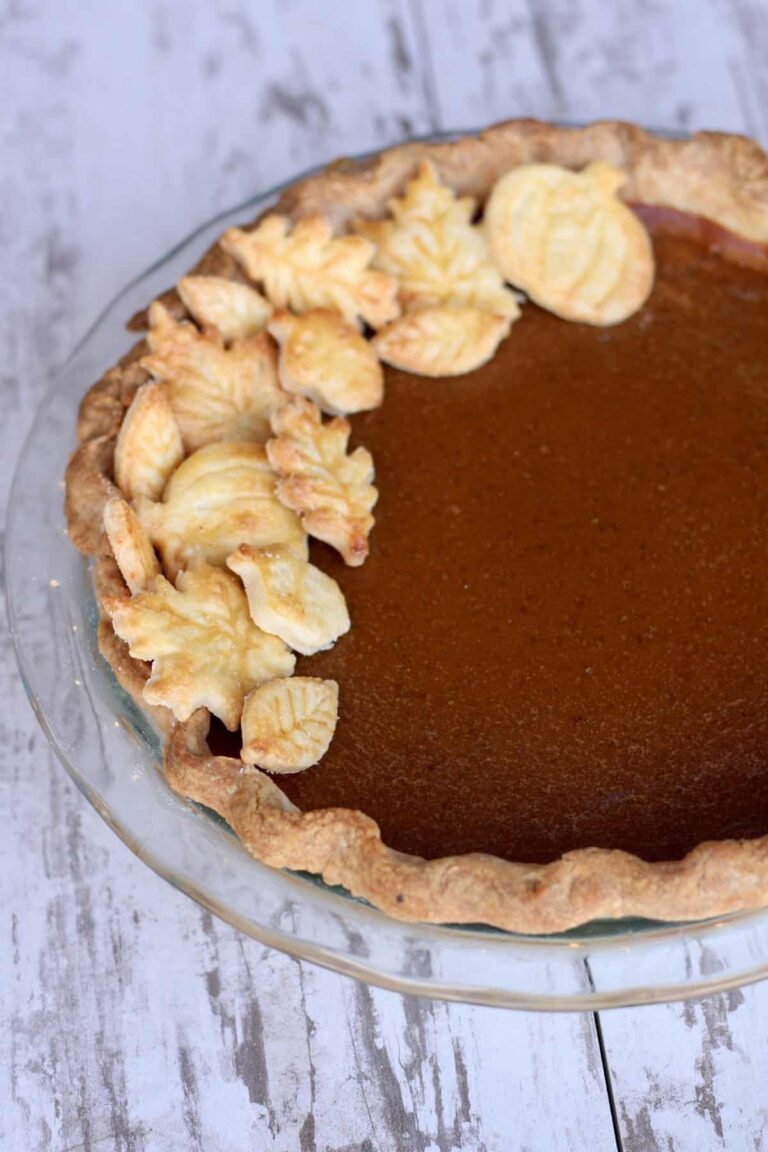
Hand pies come in all different forms, shapes and sizes. Above are just a few variations that use different cookie cutters to make circle, square and semicircular pies. The circle and square have a bottom and top crust, which are pressed together. Experiment with other shapes (hearts, stars....pumpkins) the next time that you get creative with this hand pie crust recipe. Keep in mind that baking or cooking time will vary depending on size.
Toppings
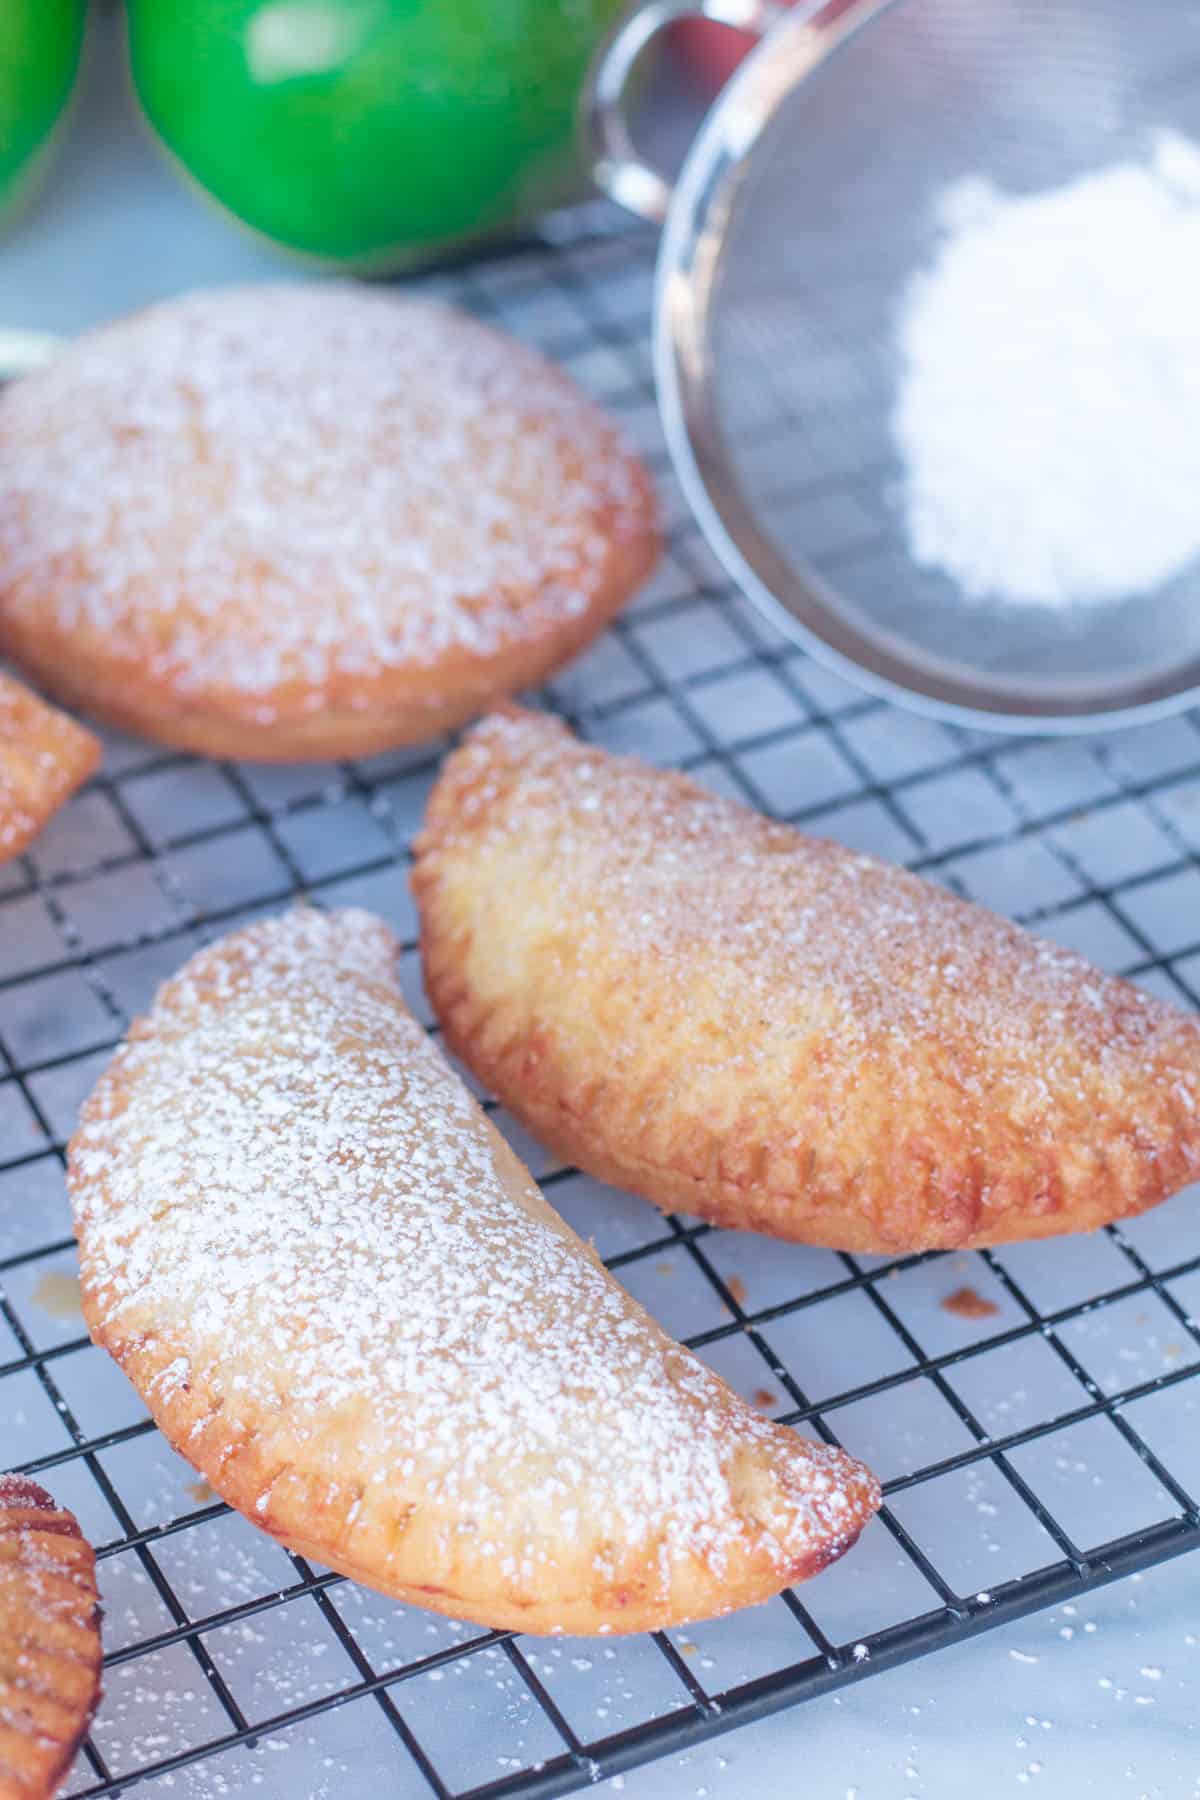
There are several ways that you can dress up the top of each hand pie. Use a sprinkling of turbinado sugar, coarse sugar, or powdered sugar, a flavored glaze or even a chocolate ganache. What you put on top of the pies depends on what flavors and textures are inside. Mini apple pies go well with warm cinnamon sugar, while cherry hand pies are delicious with a vanilla bean glaze.
Baking method
While most of my hand pies and mini pies are baked, sometimes I like to experiment with other methods, like frying. A fried apple pie prepared in the deep fryer or air fryer goes perfectly with a dusting of confectioners' sugar (and the bake time is much shorter!)
FAQ and Troubleshooting you Hand Pie crust Recipe
Hand pie dough can be made in advance and refrigerated, tightly wrapped, for up to two days. It can be frozen for up to one month. If frozen, thaw the dough overnight in the refrigerator before using.
If you don't have a food processor, you can mix the fat into the dough by hand using a pastry blender or pastry cutter. After combining the dry ingredients in a large bowl, sprinkle the cubed butter overtop. Using the pastry cutter, work the fat into the flour by repeatedly pressing down and turning the blades until the butter is the size of small peas. At this point, you can add the cold water, buttermilk, or other liquid as specified in the recipe instructions.
Yes, it is very easy to make you hand pie crust gluten-free. To do this, substitute equal amounts of your favorite gluten-free flour blend for the all purpose flour in the recipe. Alternatively, use this from-scratch gluten free pie crust recipe. It's important to note that gluten free pie dough is more fragile than traditional pie dough, so be extra careful when shaping and sealing your mini pies.
I love Making Pies of All Shapes and Sizes. Check out some more of my Favorite Recipes:
- Meyer Lemon Curd Tart with Toasted Almond Crust
- Rustic Blueberry Galette
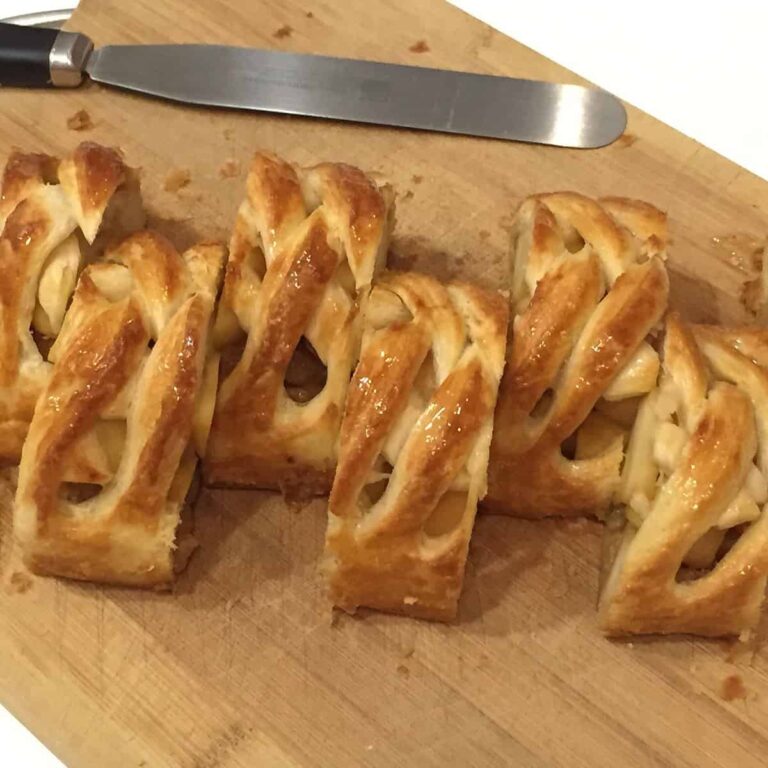
- Mini Apple Strudel with Phyllo Pastry
Tried this recipe and loved it? Take a photo and tag me on Instagram or give it a review!

Hand Pie Crust Recipe (for Homemade Mini Pies)
Equipment
- 1 food processor
- 1 4 ½ to 5 inch round cutter (12.5 cm) (optional, see Notes)
- 1 pastry brush
Ingredients
- 3 cups all-purpose flour
- 1 tablespoon granulated sugar
- 1 teaspoon baking powder
- ½ teaspoon kosher salt
- 7 oz cold unsalted butter, cubed
- ⅔ cup cold buttermilk
- 1 egg white mixed with 1 tablespoon water (for egg wash)
Would you like to save this?
Instructions
Hand Pie Dough
- In the work bowl of a food processor fitted with a metal blade, pulse flour, sugar, baking powder, and salt to combine.
- Scatter the butter overtop of the dry ingredients and pulse the processor several times, until the butter is the size of small peas.
- Drizzle half of the buttermilk over the flour mixture and pulse 4 to 5 times to combine. Add more buttermilk, 1 tablespoon (15 mL) at a time, pulsing after each addition, just until the dough starts to hold together in moist clumps. You might not need all of the buttermilk.
- Transfer the dough to a large piece of plastic wrap and shape it into a ball. Flatten the ball into a disk and wrap it tightly in the plastic wrap. Refrigerate for at least 1 hour before proceeding.
Forming Hand Pies
- Remove your dough from the refrigerator and unwrap it. On a lightly floured work surface, roll out the dough to slightly thicker the 1/16 inch (2mm.)
- Using your round cutter (or your cutter of choice; see Notes), cut the dough into rounds and place them on baking sheet lined with parchment paper, spacing apart.
- Place about 2 tablespoon (30 mL) of your filling in the center of each round. Be careful to not overfill your pie dough, so that the filling won't burst through the edges while baking.
- Brush the edge of each round with egg wash and then fold the rounds in half, pressing all around the edges to seal.
- Crimp the edges of the hand pie with the tines of a fork and then brush the tops with more egg wash (see Notes.) Freeze pies for 30 minutes.
- When you are ready to bake, cut 2 or 3 slits in the top of each pie and bake as your recipe directs. I usually bake my hand pies at 375F for 25-30 minutes, or until the tops and bottoms are deep golden brown, but it depends on the filling that you use and the size of the pie that you’ve made. If it is a fruit pie the filling should be bubbling through the slits.
Notes
- I use a basic round cutter to cut out most of my hand pies, but a variety of shapes and sizes can be used, from squares and rectangles to seasonal shapes like hearts.
- .If you are frying the pies, no egg wash is needed before the baking/cooking process. Egg wash is only used for baking pies.

This was EXCELLENT!!! I only had bread flour on hand but these turned out wonderfully - fluffy, buttery, flaky. Perfect pie dough, thank you thank you!!
Rachel! I am so glad, and thank you for such a kind comment. Maybe next time I will try it with bread flour, too! Happy baking 🙂
I may have missed it, but i only saw the temp and time for reheating precooked frozen pies. Would that be the same for the initial baking?
What a fabulous flakey crust!!!! I didn't have buttermilk on hand so added a little apple cider vinegar to regular milk. The only thing I'd do differently next time is to make sure the butter cubes were way smaller or even grated - they were a little too big even after using a pastry cutter (didn't have food processor available) so I could taste the butter in the crust ( I don't like butter taste or smell)
Thank you so much! I'm so glad that you enjoyed the recipe. And, yes, grating butter is the perfect alternative for even smaller pieces 🙂