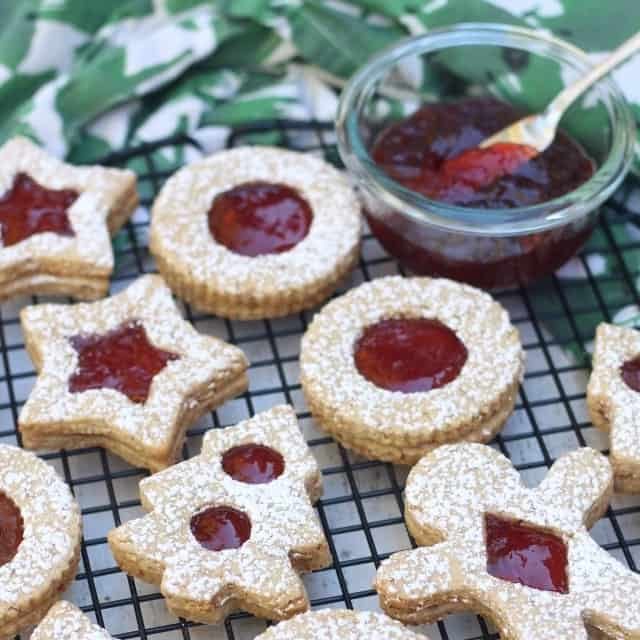
Decorated Gingerbread Cookies
 A holiday cookie assortment would not be complete without the addition of gingerbread people. Their individuality, complements of "the artist", their smiling faces, and their friendly waves help each one of them to take on a personality of their own. Whether you plan to bring them to a holiday cookie swap, keep them at home for a treat, or punch a hole in the top of each one and use them for decorating the tree, these sweet and spicy cookies will bring with them a feeling of warmth that no store-bought cookie can provide.
Making decorated gingerbread cookies is an ideal family project to usher in the holidays. I used to look forward to doing this with my mom every year. I had the freedom to decorate my "masterpieces" as I saw fit, which usually involved piling as much icing and as many candies on each cookie as I could, but that was part of the fun. The cookies usually didn't stick around long enough for my work to be admired, but knowing that each one had been crafted with care made them that much more delicious. Here are some tips for making Gingerbread Cookies:
- The dough can be made ahead of time, wrapped tightly in plastic, and then refrigerated for up to 5 days. Let soften for 30 minutes prior to rolling out.
- If you don't have a food processor, the dough can be mixed by hand, or with an electric mixer. It obviously is a bit more labor intensive by hand, but just think of the muscles that you will build!
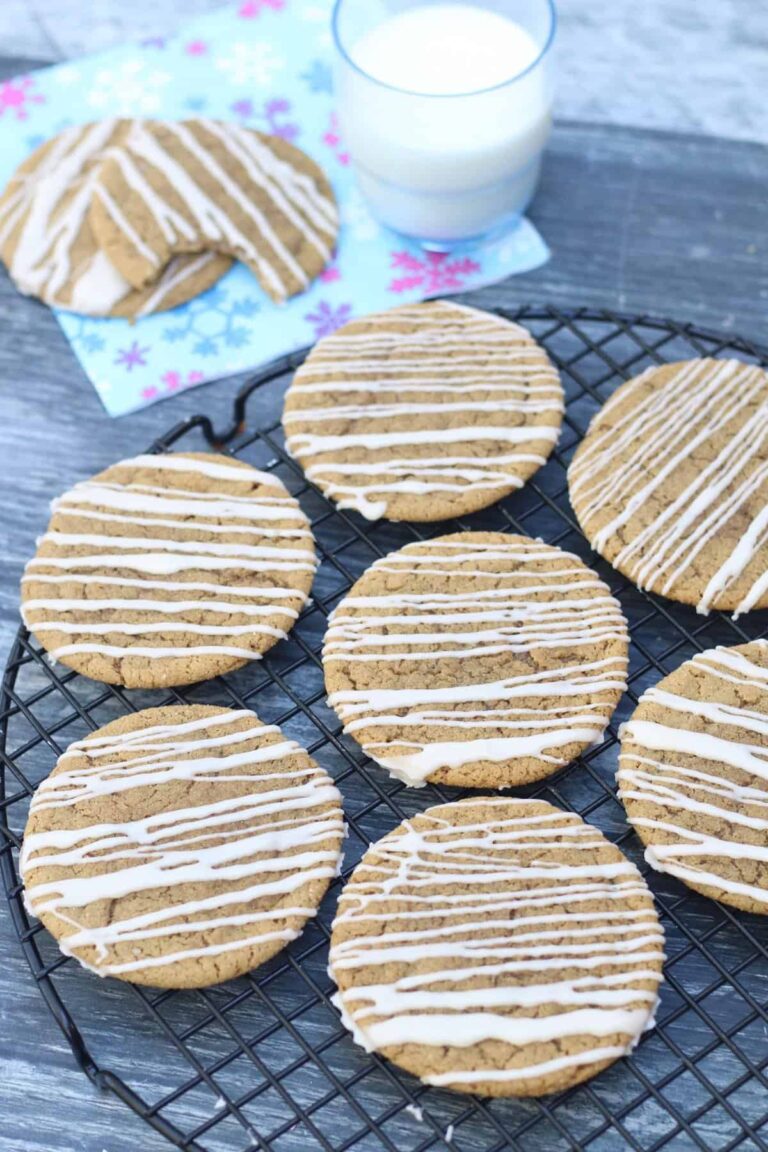
- I like to decorate gingerbread cookies with Royal Icing. Royal icing dries hard, so the colors don't run or bleed, and you can be very specific with your designs. For a quick royal icing, sift 3 ¼ cups of confectioner's sugar and combine it with 2 large egg whites. Mix in 1 teaspoon of lemon juice and then enough water (only a few drops at a time!) to reach your desired consistency. The icing should be glossy.
- For icing consistency, when outlining shapes, keep the icing a little stiffer. When you want to fill the shapes with a solid color, the icing can be a little runnier. When the outline has dried, pipe the icing in the interior of the outline and then spread it with toothpicks to the edges. This is referred to as "flooding" the icing.
- Pastry bags work best for piping decorations onto the cookies, but as an alternative, you can use a squeeze bottle or a ziploc bag with the corner cut off.
Decorated Gingerbread Cookies
Makes about 20 cookies
Ingredients:
3 cups flour
¾ cup packed dark brown sugar
¾ teaspoon baking soda
1 tablespoon ground cinnamon
1 tablespoon ground ginger
½ teaspoon ground cloves
½ teaspoon salt
12 tablespoons butter, softened and cut into tablespoon portions
¾ cup molasses
2 tablespoons whole milk
Vanilla glaze or royal icing
Food coloring, candies, and sprinkles for decorating
 In a food processor, process the flour, brown sugar, baking soda, spices, and salt until combined. Scatter the butter pieces over the flour mixture and process until the mixture resembles a fine meal. With the machine running, gradually add the molasses and the milk; process until the dough is evenly moistened and forms a soft mass.
Scrape the dough onto a work surface and divide it in half. Working with one portion at a time, roll the dough to a ¼ inch thickness between two large sheets of parchment paper. Leaving the dough between the papers, stack it on a baking sheet and freeze it until firm, 15 minutes.
Place oven racks in upper and lower thirds of the oven and preheat the oven to 350F degrees. Line baking sheets with parchment paper. Remove 1 dough sheet from the freezer and peel off the parchment paper. Cut the dough into desired shapes, transfer to the baking sheet, and space 1 inch apart. Bake the cookies until they are set in the center, 8-11 minutes, rotating positions halfway through. Cool to room temperature on a wire rack and decorate if desired.