Julia's French Bread Recipe
 Last month, I discovered an on-line group of food bloggers from all over the world called The Daring Bakers. Each month, one member of the group selects a baking recipe and challenges the other members to attempt the recipe exactly as written and then write about the recipe on their individual sites. The chosen recipe is to remain top secret among members until the last day of the month, at which time the bakers can share their experiences, along with any photos that they took, with their readers.
February, 2008 will go down in Peanut Butter and Julie history as my first month as a proud member of The Daring Bakers--and what a month to begin with! This month's challenge, Julia Child's French Bread from "Mastering the Art of French Cooking, Volume II", was selected by Mary from The Sour Dough blog and Sara from I Like to Cook. Because the recipe is an intimidating 17 pages long in Julia's classic cookbook, you'll understand why I am choosing not to post it in its entirety on my site, and instead provide you with a link to it on Mary's site here. Below, I'll share with you some of my photos of the cooking process along with my usual comments and tips for making this bread.
Ooh La La! Daring Bakers Take On Julia's French Bread
I thought that it was so appropriate that my first recipe as part of The Daring Bakers was written by such as pioneer of the culinary world and involved making something very basic that requires a very specific technique. I also don't think that this is something that I would have attempted on my own, as the 17 pages of directions might have been a bit of a deterrent! I was surprised to discover that the actual labor required in making this recipe only amounts to about 1 hour, because the majority of the time is dedicated to rising, and that the only ingredients needed to make authentic French bread are yeast, flour, salt, and water (the good butter and olive oil come later....).
 The directions I found to be very clear and easy to follow, and a big "thank you" should go to Mary and Sara for the additional updated comments that they inserted, which didn't apply when Julia wrote the recipe, as they were very helpful. I chose to make the recipe with my trusty KitchenAid 6-quart standing electric mixer as opposed to making it by hand. I have made homemade bread with my mixer many times, and it has never failed me, so I figured, if it ain't broke..... The dough came together very easily and rose beautifully, just as it was described in the recipe, and I think it helps to live in a desert climate, where there is little
 humidity to tamper with the process. This was the scariest part for me, lifting the towel off of the bowl to see what had transpired over the past few hours, filled with fear that the dough hadn't risen at all and I would need to start all over again!
I chose to form the dough into the three 24" baguettes, because I really wanted to practice shaping the longer loaves, as I thought that this would be one of the more complicated shapes. They all turned out a little bit different in width, and the rolling and lengthening process was easier with some than with others. I also think that I didn't split the dough exactly in thirds, and maybe next time I should weigh the pieces to be sure. As suspected, the slashing of the dough, just before placing the baguettes in the oven  proved to be a bit of a challenge. I used my Exacto knife, which I usually use for things like my fondant cake decorations, and it worked fairly well, but I think that next time I will use a razor blade. Notice that I am saying "next time" quite a bit? Clearly the results of this process make it worth doing again!
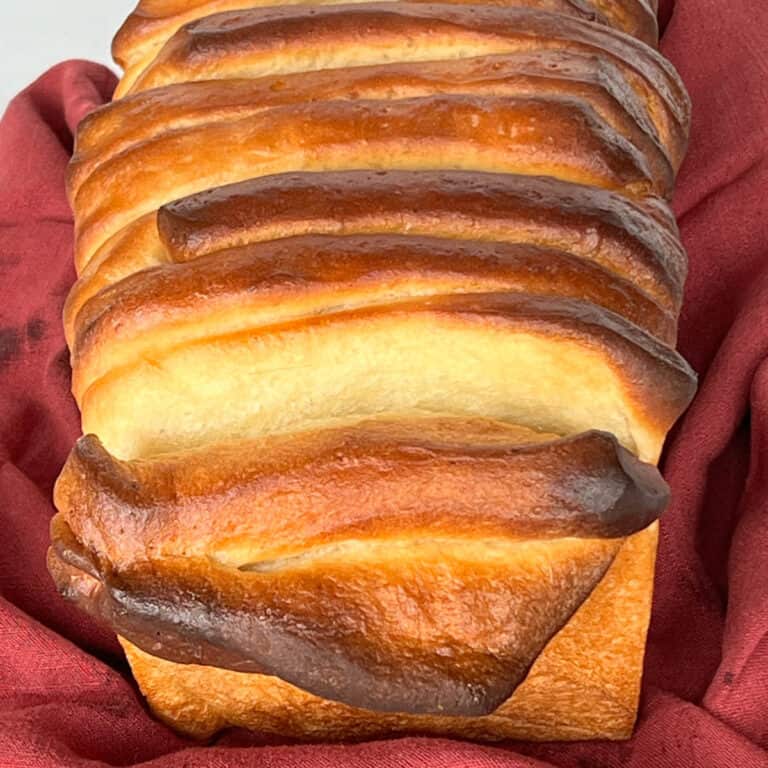
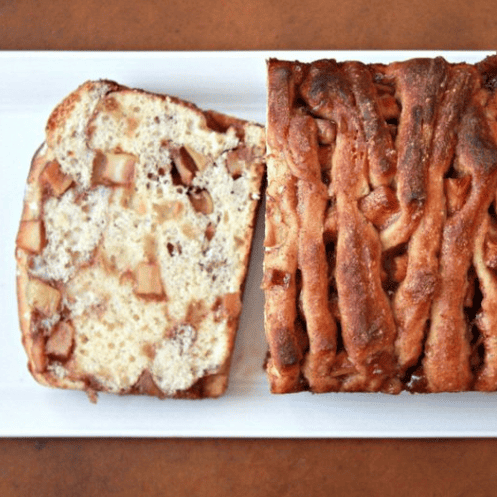
After placing the loaves in the oven (I need to get a longer baking sheet--they were practically hanging off of the edge!), I used a pastry brush to wet them as opposed to a spray bottle, which I didn't have, but will definitely invest in for the next go-round as I think it would be the easier method. The smell that came from the oven during the baking process was heavenly, but it was agony knowing that I would need to let the loaves rest for 2 hours after they finished baking. Trying to explain that to my husband was probably the hardest part of this entire process--he is a notorious bread lover. The loaves came out a nice golden brown color, and the "slash" marks actually looked pretty professional--good enough for a first timer at least. They had a hollow sound when tapped, so everything seemed to be in place.
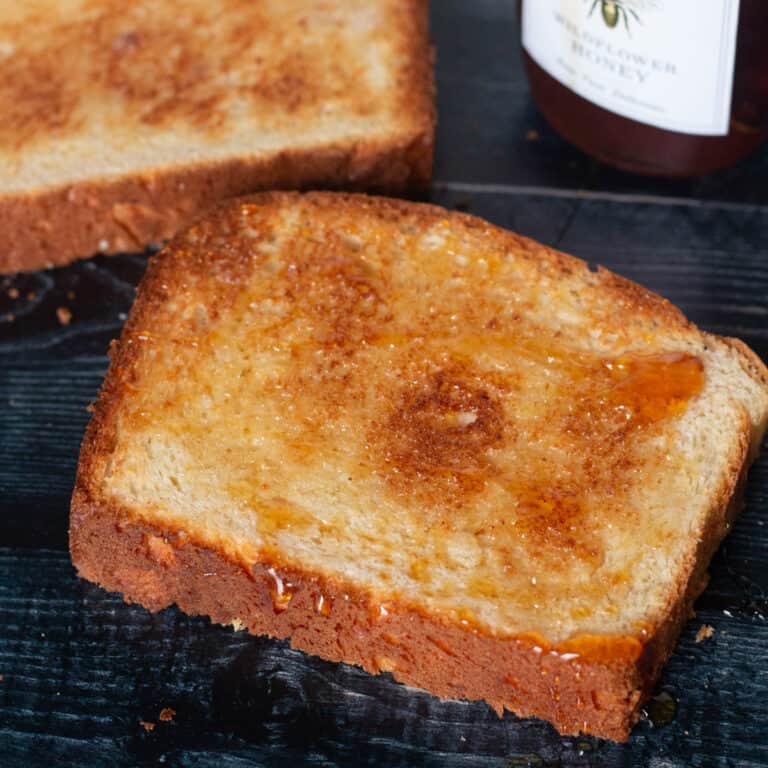
For dinner, I had made a simple corn and cheddar chowder, knowing that we would have some great fresh bread for mopping up the last few bits. It is amazing to me what can be made out of so few ingredients. The bread tasted just like "the real thing": crisp and crunchy on the outside, and soft and chewy on the inside. We ate it with some good European butter, although it would have been delicious on its own. The only complaint that I have is that I didn't make a double (or triple) batch, as the bread was gone very quickly. But, as I have said, next time..........
Thank you Mary and Sara for a great first challenge--I'm looking forward to challenge #2!!
I agree that waiting to taste the bread was very difficult, but it was really worth it. Your bread looks great. Welcome to the group!
Mary deserves all the credit! Thanks for baking with us this month.
oh la awesome! great job 🙂
What a great way to start with the Daring Bakers! You did fantastic.
Thanks for baking with Sara and I
Welcome to the Daring Bakers! Your bread looks terrific....
What wonderful loaves of French Bread. You did a fabulous job on your first DB challenge! How great that you plan to make this again! Welcome to the Daring Bakers!
Your bread looks like an amazing success! Bravo!